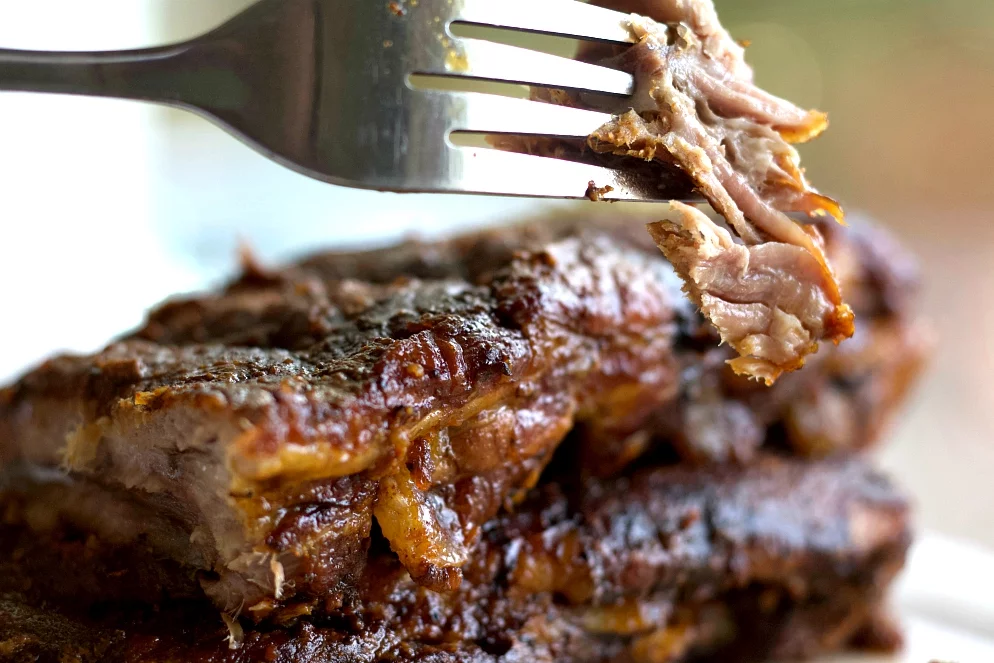
Baby Back Ribs made in the instant pot are SO easy and fall off the bone tender. Just a few minutes of crisping under your broiler gives your ribs a crispy grilled texture. Or eat them straight out of the pot.
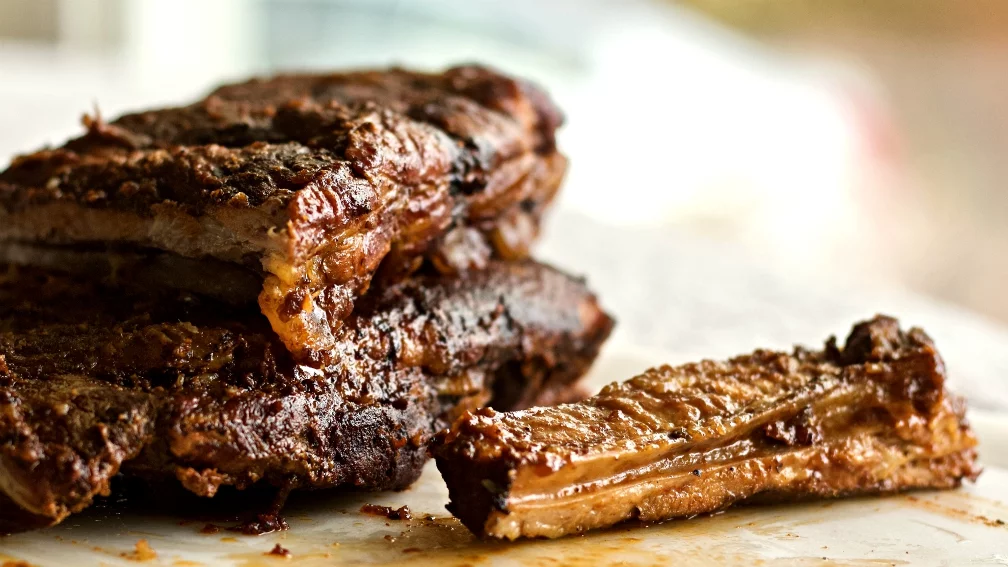
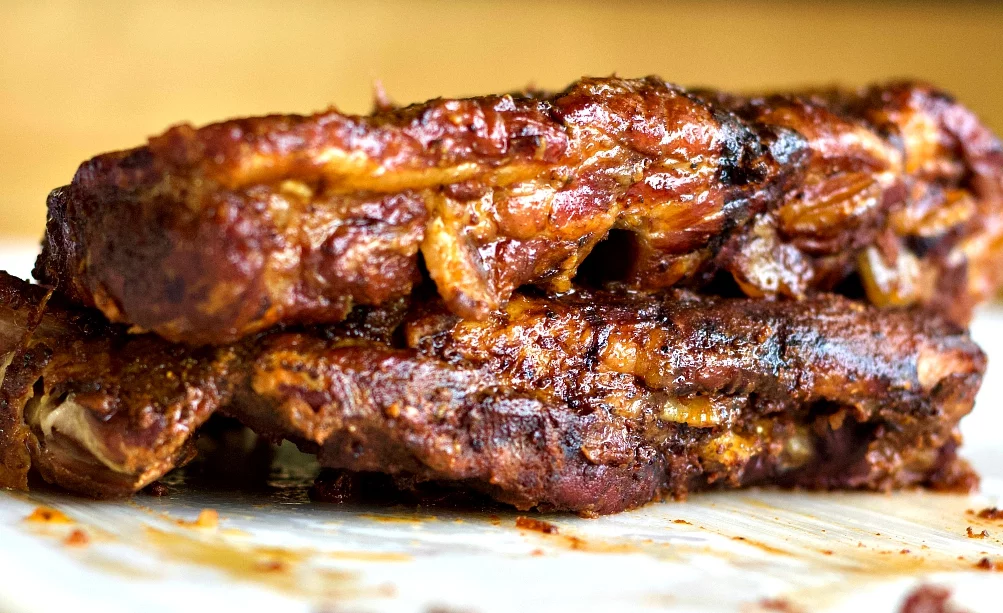
ButcherBox baby back ribs with dry rub. These ribs were NOT broiled. This is how they came out of the instant pot.
The instant pot is a REALLY good way to cook a rack of baby back pork ribs. Cooking meat under pressure drives the flavor and moisture right into the meat and makes it very tender. It’s also very quick and painless for the cook. Win Win!
**This post contains affiliate links and I will be compensated if you make a purchase after clicking on my links. Thank you for supporting Homemade Food Junkie! **
My 6 quart duo instant pot is one of the best ideas this kitchen has ever benefited from. I will always be grateful for my electric pressure cooker. And they are coming out with some new ones that make mine a dinosaur.
Kayti is cooking in a new 8 quart ultra. Watch her unbox it here. What a beauty!
I made hard boiled eggs in it the other day. What a wonderful machine.
I’m a bit envious but not quite ready to one up her with the instant pot Max. But someday…
Find All of our Instant Pot Recipes here
Butcher Box:
This rack of ribs came out of our ButcherBox monthly Subscription box. The butcher box reviews convinced me. I’m into my second Butcher box now.
This is the first time I’ve posted a recipe with Butcher Box meat. I decided to go all in with this company and let you know we like them. A lot. You’ll be seeing more butcher box meats in our recipe posts..
The quality of meats we are eating are MUCH better. Free Range organic Chickens, Grass fed and finished beef, AND heritage breed pork all humanely raised. I love that.
Our meat menu is much more diverse now. This family has eaten a LOT of hamburger over the years. We now enjoy rib eye steak, pork chops, roasts and ribs like your seeing here today. And many other yummy cuts of meat.
Butcher Box sends high quality meat we choose every month. Well marbled and tender with great flavor.
Get Ground Beef for Life at ButcherBox
And how nice that the box magically appears on my porch. No shopping required!
Baby Back Rib Recipe:
One of our favorite meals lately are baby back ribs. I just throw them in the instant pot for a quick finger licking weeknight meal.
You all know I’m a pretty lazy cook. That’s why I use the instant pot as often as I can. It’s so easy. And it makes great ribs all year around.
This dry rub recipe is perfect for pork ribs. And it’s easy to make. I had all the ingredients in my cupboard and it took only a few minutes to mix it up. Rub and cook!
Optional longer Marinade:
Or not. You can rub the meat ahead and slather it in BBQ sauce and let it sit covered in your fridge all day. Then come home and pop it in the instant pot. Scrumptious!
A sweet hot smoky meat.
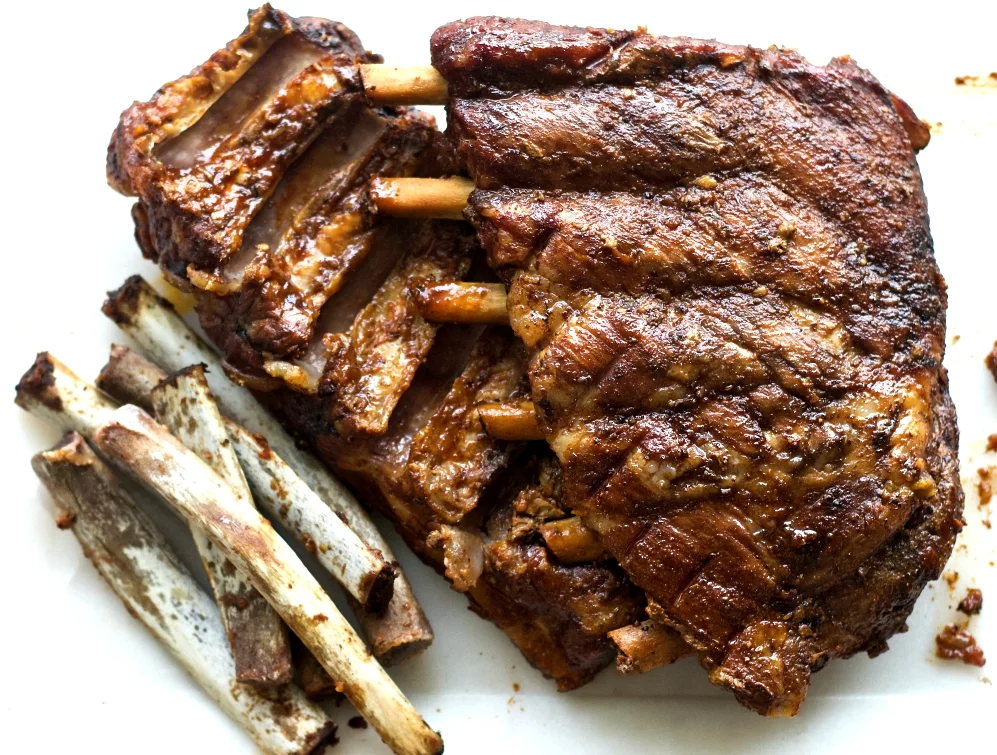
The instant pot makes ribs so tender. The bones literally fell out of the rack as it cooked! Save those bones for healthy instant pot bone broth. Freeze em until you have enough bones to fill your pot.
How to Cook Baby Back Ribs:
For Complete Instructions on how to make the spice rub and cook these juicy yummy ribs go to the printable recipe card.
Recipe tips:
Pull off the silver membrane from the back of your ribs. This membrane will not cook down well. So for the tenderest result pull it off.
How to pull the membrane off:
- Flip the rack back side up to see the silver membrane.
- Use a dull knife to pull up the edge of the membrane and peel it off. It should peel back easily.
Dry Rub:
- After the silver membrane is off the back of your rib rack rub the spices into the meat. ALL over. Every crevice. Front and back.
- Marinate the dry rubbed ribs in your fridge for several hours with your favorite BBQ sauce for even more flavor.
Tips for cooking the Baby back ribs in your instant pot:
- Pour in your water first so it doesn’t wash that spice rub off the meat.
- You can add about 1/2 tsp. of liquid smoke to your cooking water to enhance that smoky flavor. HOWEVER. Be careful with liquid smoke. A little will do a LOT.
- Set your trivet over the water. Stand your rib rack up. You may have to cut it into two pieces. I did.
- Do NOT stack your ribs flat. Set them on end on top of your trivet in the instant pot. Set them in a teepee form or curl your rack around the instant pot insert sides. This will allow even cooking.
- Cook your ribs
- I used the meat function for 25 minutes and then naturally released the pot for 15 minutes. Consider the size of your rib rack.
- It’s ok to use the manual function on high pressure for 30 minutes to cook these ribs if you have really large or meaty ribs.
- Crisp the Ribs:
- If you want a more authentic grilled texture to your baby rack ribs follow the instructions to broil them a few minutes. I did NOT broil the ones you see pictured here. We enjoyed them.
- Serve your ribs:
- BBQ sauce is a nice dipping sauce for your rib meat. I brushed the BBQ sauce right onto the ribs before serving them. The extra sweet hot smokiness was just right.
- NOTE: We are talking about a LOT of optional flavors here. Make sure you are happy with the BBQ sauce you have. There a million different flavors out there.
- Taste test before you brush it all over your lovely ribs. Especially if you use the liquid smoke.
Your Printable Recipe Card:
Baby Back Ribs-Instant Pot
Baby Back Ribs made in the instant pot are Fall off the bone tender. This dry rub recipe and barbeque sauce add delicious smoky flavor.
Ingredients
- 1 rack baby back ribs
- 2 Tsp. smoked paprika
- 2 tsp. Cumin
- 2 tsp. dry mustard
- 1 Tablespoon chili powder
- 1 tsp. salt
- 1 tsp. pepper
- 1 cup barbeque sauce
Instructions
- Lay out your ribs and remove the silver membrane (located on the back of the ribs) by pulling it off with a butter knife.
- Mix the dry rub ingredients together.
- Rub the pork ribs all over and let sit in your fridge covered until dinner.
- At cooking time put the trivet into your instant pot and add one cup water into your pot.(optionally you can use flavorings in the water such as a 1/2 a tsp. liquid smoke if you prefer)
- Lay the rubbed pork ribs ON END in your instant pot so they are NOT stacked.
- Set the instant pot MEAT function to 25 minutes. Natural release 15 minutes.
- Remove the ribs to a tray and brush with BBQ sauce.
- Serve with BBQ sauce on the side for dipping.
- OPTION: You may remove the cooked ribs to a baking sheet lined with tin foil. Brush the ribs with BBQ sauce and broil 5 minutes or until slightly charred for a crispy result.
Recommended Products
As an Amazon Associate and member of other affiliate programs, I earn from qualifying purchases.
Nutrition Information
Yield
4Serving Size
1Amount Per Serving Calories 391Total Fat 18gSaturated Fat 6gTrans Fat 0gUnsaturated Fat 11gCholesterol 66mgSodium 1566mgCarbohydrates 37gFiber 2gSugar 28gProtein 20g


Kurt Wallinger
Monday 14th of November 2022
I halved the ingredients for the rub and it was plenty for one rack of ribs. I cut back on the salt a bit also. Cooking for the stated time was exactly right - the ribs were tender and moist. I added the barbecue sauce at the end and warmed them up in the oven for a bit and they were delicious. Great recipe.
Diane
Monday 14th of November 2022
Hi Kurt, Thanks so much for stopping by and sharing your experience with this recipe. It's so helpful ro other cooks. We are delighted you enjoyed the recipe. Have a great day!
Phil Holzbauer
Saturday 4th of July 2020
I cook the ribs in my Inst-pot as you've described here. Then I take them out, brush them with sauce and stick them in my Cuisinart Air fryer for about 10 minutes at 300F. That both drys the sauce a bit, and makes sure they are cooked all the way through. When they are done, you can pull the bones right out of the meat. They are so tender and flavorful this way.
Diane
Saturday 4th of July 2020
Hi Phil, What a wonderful way to finish these ribs. Thanks for the great suggestions. Have a great weekend!
Jim
Tuesday 22nd of October 2019
I goofed! I released pressure after 25 minutes rather than naturally release pressure - Misread directions to let the cooker naturally for the 15 minutes. Needless to say the meat was not fall off the bone tender. YUK!! The ribs are back in the cooker for 15 minutes pressure and will do the 15 minute "natural pressure" release!!
Diane
Tuesday 22nd of October 2019
Hi Jim, Oh NO! I hope they turn out all right in the end. Thanks for sharing your experience. That natural release step is what finishes the meat and makes it tender. Let me know how it goes!