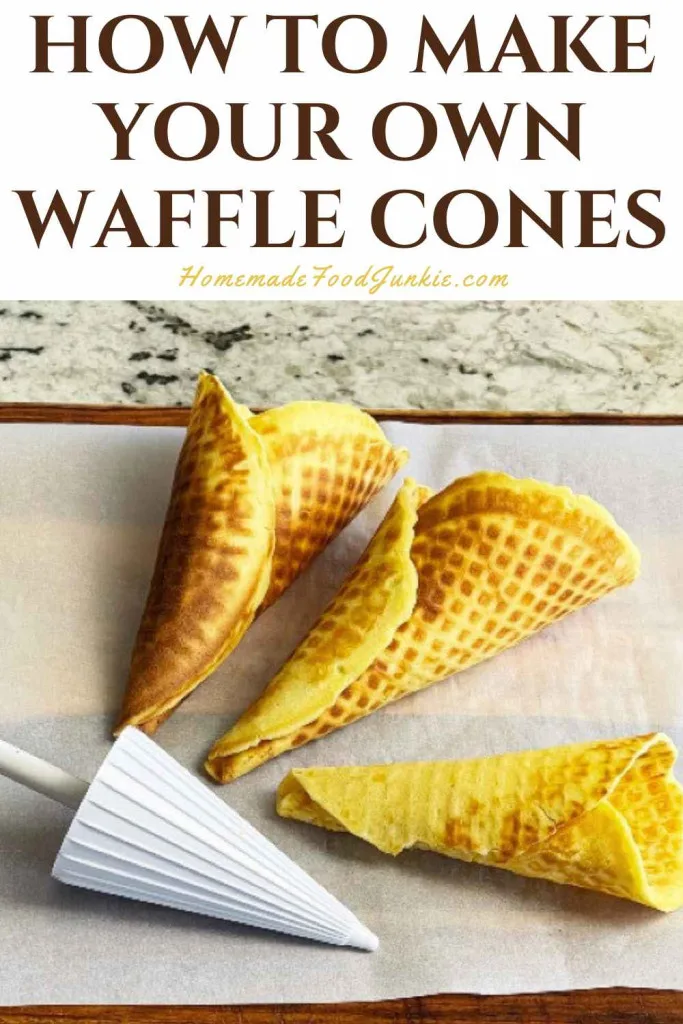
Welcome to the world of the homemade waffle cone. There’s something truly special about making your own waffle cone recipe. It’s easy, and you’ll eat the freshest, most delicous waffle cone your ever going to taste. Enjoy biting into a freshly made waffle cone filled with yummy ice cream, or other delectables. Make these cones crunchy or chewy, as you like it. The flavor is outstanding.
Since ice cream cones came into being (learn about the history of ice cream cones on Wikipedia), they also came in many edible substances and shapes. The waffle cone is one of the best if you ask me. And if you prefer an edible bowl to enjoy your sweet creamy treat, this recipe also makes great waffle bowls as well.
Making your own waffle cones at home allows you to tailor them to your needs. Choosing high-quality ingredients and adding creative twists makes a truly gourmet experience out of these simple cones. The possibilities are endless. You can reinvent this waffle cone recipe to perfectly complement your favorite ice cream flavors over and over again.
With a handful of pantry staples and a waffle cone maker, you can whip up these delectable treats in no time. Your loved ones will wait impatiently to savor these delicious homemade waffle cones.

From traditional vanilla and chocolate waffle cones to more adventurous options like cinnamon or citrus-infused cones, the choice is yours, and you won’t get bored. We’ll also provide tips and tricks to ensure your cones turn out picture-perfect every time.
Mastering the batter consistency and rolling them into elegant cones gets better and better as you use this recipe. Making homemade waffle cones will take your ice cream indulgence to new heights.
Tips For Making Waffle Cones:
First off: Can I make Waffle cones in a waffle maker? Please dont try this. You will be very frustrated. The standard waffle iron has too deep a pattern so your thin waffle cone batter will make a mess and not a very nice waffle for folding into a cone.
Start with a waffle Cone Maker that includes a roller cone. Mine is the Nutrimill. And there are others just as good in a reasonable price range. I know its another appliance to store but if your truly wanting to make a good waffle cone this is the best way.
Here are some tips for making a homemade waffle cone recipe using a waffle cone maker:
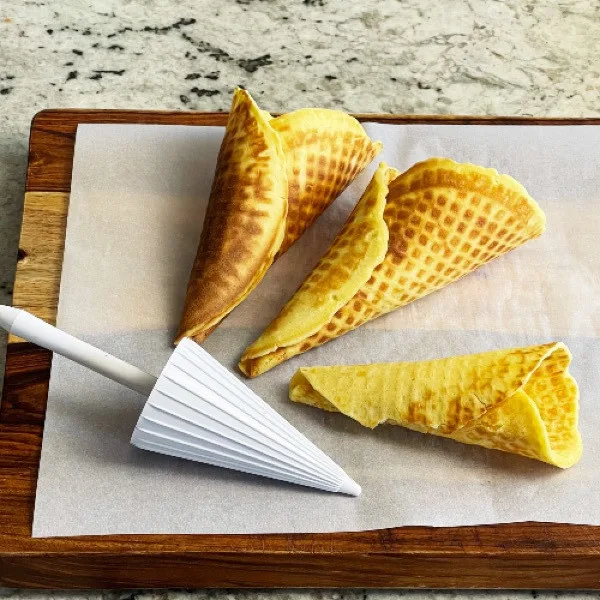
- Preheat the waffle cone maker: Preheat your waffle cone maker according to the manufacturer’s instructions. The batter has to go on a properly preheated waffle iron to cook the cones evenly to that perfect golden-brown color.
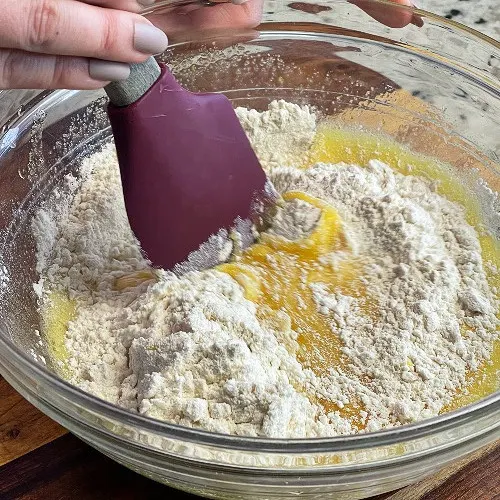
- Tips for the batter: Use a recipe specifically designed for waffle cones. The batter should be smooth and pourable but not too thin. It’s important to maintain the right consistency to ensure the cones hold their shape and crisp up nicely. Do not overmix. Use a light hand when folding in the flour for best results.
- Use the right amount of batter: Pouring too much batter onto the griddle causes overflow and results in unevenly cooked, misshapen cones. Pour a small amount of batter(1/4 cup) onto the center of the lower grid of the waffle cone maker. After you learn the process, and your waffle iron, you can adjust the amount to make different cone sizes.
- Cook until lightly golden: Close the waffle cone maker gently but evenly and cook the batter until the cones turn a medium golden color. This takes 2 or 3 minutes, depending on the heat settings of your machine and how much batter you are cooking.
- Cook To golden Brown: Keep a close eye on the cones to avoid overcooking, as they can quickly become too crispy or even burn. But don’t take them off too early either or the cone won’t hold its shape. There is a sweet spot here you need to find to make your cones just the way you want them.
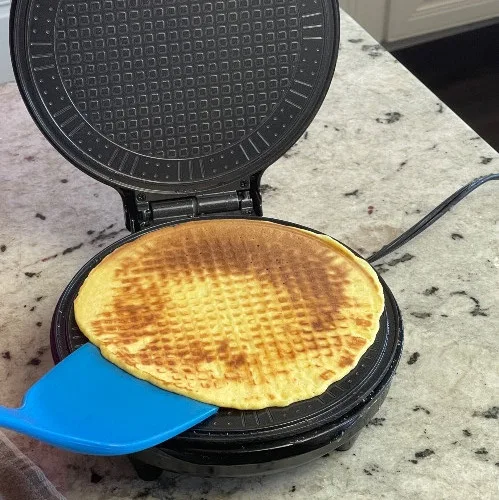
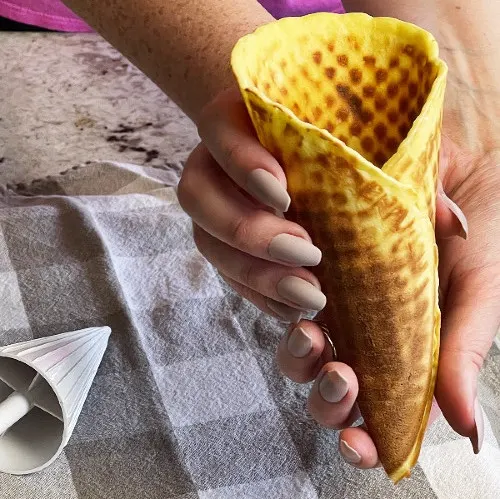
- Shape the cones quickly: As soon as you remove a cooked waffle cone from the maker, work swiftly to shape it. NOTE: The waffle will be very hot. We used a towel to protect our hands. With a cone-shaped mold, roll the waffle around until it has the shape you want. Hold the cone in shape for a few seconds until it cools and sets. My waffle maker instructions say to wet the edges of the cone to help it hold the shape as it dries. That is not really that helpful in my experience. A properly cooked waffle will dry and hold its shape as it cools.
- Fold the bottom: To keep your ice cream from leaking through the bottom of the cone you can make a small fold in the bottom as you roll and shape it.
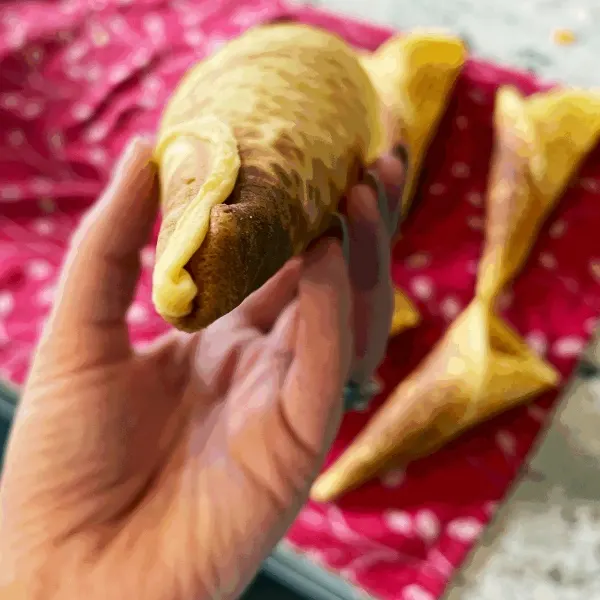
Remember, practice makes perfect when it comes to making waffle cones. Don’t be discouraged if your first few attempts aren’t perfect. With time, you’ll become more proficient and confident in creating delicious, homemade waffle cones. Enjoy the process and savor the delightful treats you create!
Why Are My Homemade Waffle Cones Soggy?
To avoid soggy waffle cones pay attention to cooking times, cooling and storage conditions, and ingredient measurements to achieve perfectly crispy cones every time with this waffle cone recipe.
- Undercooking: If the waffle cones are not cooked long enough, they may retain too much moisture and end up soggy. Ensure that you cook the cones until they are fully crisp and golden-brown. Follow the cooking time recommended by your waffle cone maker or adjust it slightly if needed.
- Insufficient cooling time: After shaping the cones, it’s important to allow them to cool completely before storing them. If you store warm cones in an airtight container too soon, the trapped moisture can cause them to become soft and lose their crispness. Make sure the cones have cooled down to room temperature before storage.
- Improper storage: Storing waffle cones in a humid environment or leaving them exposed to air can lead to moisture absorption and subsequent sogginess. It’s crucial to store the cones in an airtight container or wrap them tightly in plastic wrap to maintain their crisp texture. Avoid stacking cones tightly, as this can trap moisture and contribute to sogginess.
- High humidity conditions: High humidity levels in your kitchen or the surrounding environment can affect the texture of your waffle cones. In humid conditions, the cones may absorb moisture from the air, causing them to become soggy. Try making waffle cones on drier days or in an air-conditioned room to minimize the impact of humidity.
- Ingredient ratios: The balance of ingredients in the batter can affect the texture of the waffle cones. If the batter contains too much liquid or fat, it can result in a softer cone. Double-check your recipe and ensure you are using the correct proportions of flour, sugar, fat, and liquid to achieve the desired crispness.
- Reheating or microwaving: If you reheat waffle cones in the microwave or oven, they may become soft due to the heat and steam. It’s best to avoid reheating waffle cones, as this can compromise their texture. If you need to warm them slightly, do so for a short duration and be cautious not to overdo it.
How do You Seal a Waffle Cone?
To seal a waffle cone, you can follow these steps:
- Shape the cone: After removing the cooked waffle from the waffle cone maker, quickly roll it into a cone shape. You can use a cone-shaped mold or a specialized cone-rolling tool.
- Making a narrow cone: To make a smaller cone circle set the narrow point of the cone roller at the bottom of the round waffle.
- Making a Larger Cone: This works best if you have the cone roller at the top of the waffle so the circle you make at the top is larger to accommodate more ice cream.
- Hold the cone in place: With the cone in shape, hold it for a few seconds until it cools and sets. This will help the cone retain its shape and prevent it from unraveling. You can use your hands or a pair of tongs to hold the cone in place, making sure to apply gentle pressure to the overlapping edge.
- Optional: Apply heat to seal: If you’re finding it challenging to keep the cone sealed, you can apply a gentle heat source to help seal the overlapping edge. Hold the open end of the cone near a heated pan or stove burner for a few seconds, rotating it slightly to evenly apply heat to the edge. The heat will soften the cone, allowing it to seal together. You may also wet the edges of the cone as you fold it. Hold it in place until dry and the edges will be better sealed.
- Cool and set: Once the cone is sealed, continue holding it in shape for a few more seconds until it cools completely. This will ensure the seal is secure and the cone maintains its structure. You can place it on a cooling rack or hold it in your hand until it cools down.
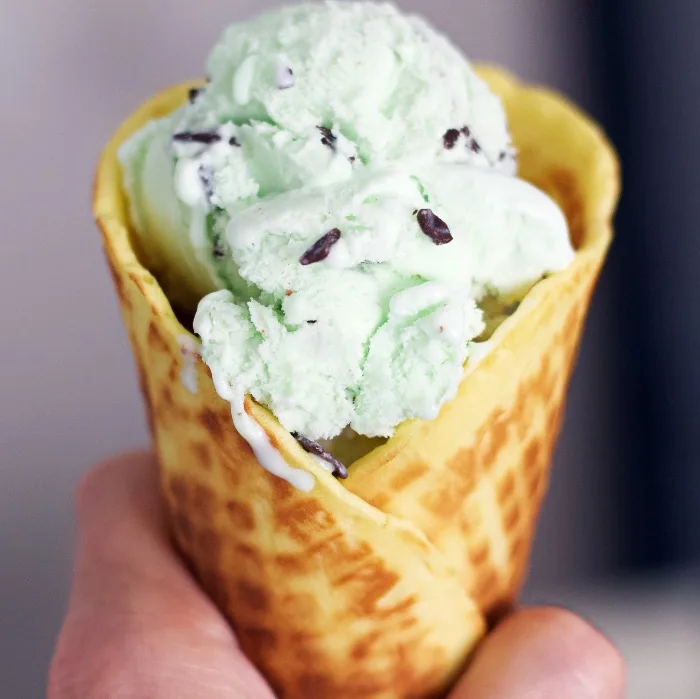
Once you seal the waffle cone, fill that nummy vessel with your favorite ice cream flavors.
How To Store Waffle Cones:
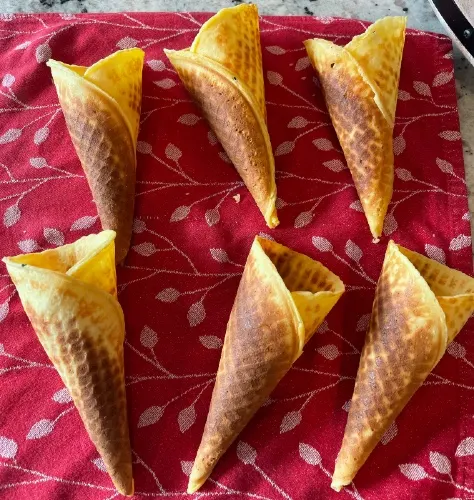
To maintain the crispness of your waffle cones, store them in an airtight container once they have cooled completely. This recipe makes about six cones at a time. We recommend you treat them like waffles. If you stack them together loosely in a plastic bag that is sealed they should hold several days. Avoid stacking the cones tightly, as they may break, become soggy or lose their shape.
Freezing Waffle Cones:
You can freeze waffle cones to extend their shelf life or to accumulate a lot for a special event or to make them ahead so you have some on hand.
When stored properly, waffle cones can be kept in the freezer for up to 2-3 months. Freezing helps to preserve their freshness and prevent staleness. However, the texture and taste of the waffle cones may slightly change after being frozen and thawed.
To freeze this waffle cone recipe:
- Cool the cones: Allow the freshly rolled waffle cones to cool completely at room temperature before freezing. This prevents condensation and ice crystals from forming during the freezing process.
- Wrap individually: Wrap each waffle cone individually in plastic wrap or parchment or place them in separate freezer-safe bags. This step ensures that the cones remain protected and don’t stick together in the freezer. Or you can freeze them unwrapped on a baking sheet and then put into bags or freezer containers to protect them.
- Store in an airtight container: Singly wrapped waffle cones do best in an airtight container or freezer bag for additional protection. This helps maintain their freshness and prevents freezer odors from affecting the cones. But watch they dont get crushed in the freezer.
- Freeze: Put the container of wrapped waffle cones in the freezer. Stored in a level position to prevent any breakage.
- Thawing and serving: When you’re ready to use the frozen waffle cones, remove them from the freezer and let them thaw at room temperature for about 5-10 minutes. This allows the cones to soften slightly and become more pliable for easy handling. Once thawed, the cones are ready to be filled with your favorite ice cream or other treats.
By following these steps, you can freeze waffle cones and enjoy them at a later time without compromising their quality or texture. Properly frozen and thawed waffle cones can still provide a delicious and crispy base for your ice cream creations.
Waffle Cone Recipe Variations:
Here are a few different versions of waffle cone recipes to add variety and deliciousness to your homemade cones:
- Chocolate Waffle Cone Recipe: Add cocoa powder to your waffle cone batter to infuse it with a rich chocolate flavor. You can adjust the amount of cocoa powder based on your preference for a mild or intense chocolate taste. The result is a delectable chocolate waffle cone that pairs perfectly with any ice cream flavor, particularly chocolate-based ones.
- Cinnamon Spice Waffle Cones: Add a touch of warmth and spice to your waffle cones by incorporating ground cinnamon into the batter. The aromatic cinnamon flavor will infuse the cones with a cozy, comforting taste. These cones are especially delightful when filled with flavors like vanilla, caramel, or apple pie-inspired ice creams.
- Citrus Zest Waffle Cones: Enhance your waffle cone’s flavor with the zesty goodness of citrus. Simply add a teaspoon or two of grated lemon or orange zest to your batter. The citrus zest will provide a refreshing and tangy twist to your cones. Pair them with fruity ice cream flavors like lemon sorbet or orange sherbet.
- Almond or Coconut Waffle Cones: For a nutty or tropical twist, consider incorporating almond or coconut extracts into your waffle cone batter. These extracts add a distinct flavor profile that pairs well with a wide range of ice cream flavors. Almond-flavored waffle cones complement nutty and chocolate-based ice creams, while coconut-flavored cones pair beautifully with tropical flavors like mango, pineapple, or coconut ice cream.
- Matcha Green Tea Waffle Cones: Infuse your waffle cones with the vibrant and earthy flavors of matcha green tea powder. Add a tablespoon or two of matcha powder to your batter, adjusting the amount based on your preference for intensity. Matcha waffle cones create a unique and visually striking base for green tea or other tea-flavored ice creams.
- Savory Waffle Cones: Waffle cones don’t have to be limited to sweet fillings. You can experiment with savory versions by reducing the sugar in the batter and adding savory herbs and spices such as garlic powder, dried herbs, or grated cheese. These cones can be filled with savory ice creams, like tomato basil or bacon-infused flavors, or even used as a creative vessel for appetizers like chicken salad or vegetable dips.
Get creative and experiment with different flavors and combinations to suit your taste preferences. These variations will add a unique twist to your homemade waffle cones and take your ice cream experience to a whole new level of delicious.
Homemade Waffle Cones
Making your own waffle cones at home allows you to tailor them to your exact preferences. From choosing high-quality ingredients to adding creative twists, the possibilities are endless. This is a sweet waffle batter with excellent flavor and reliable results.
Ingredients
- 2/3 Cup all purpose flour
- 1/4 tsp. salt
- 2 eggs
- 1/2 Cup of sugar
- 4 Tablespoons unsalted butter- melted
- 1/4 Cup of milk
- Optional: 1/8 tsp. vanilla or cinnamon
Instructions
Prep: Preheat waffle cone iron:
- Mix together flour and salt in small bowl and set aside.
- In a separate medium sized bowl whisk together eggs and sugar until smooth and well combined.
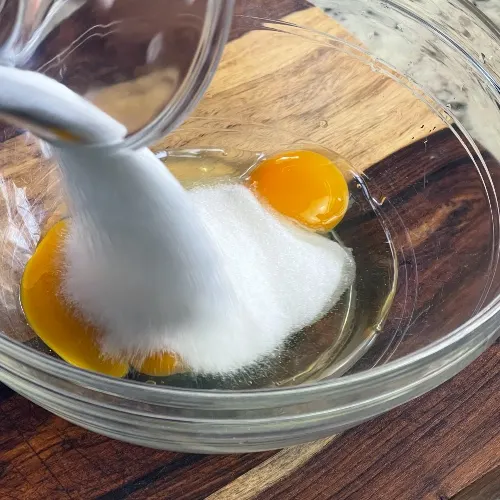
- whisk in the melted butter and milk until smooth.
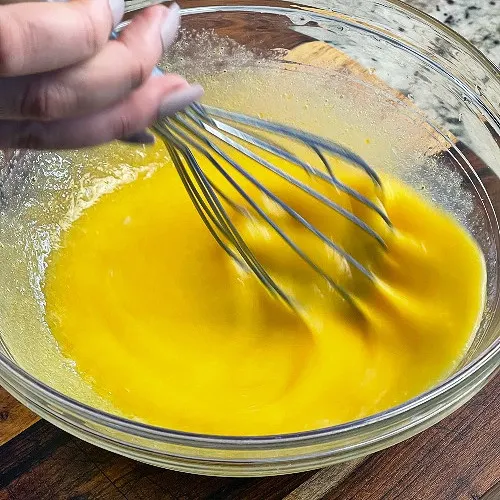
- Gently Fold in flour with a wooden spoon using motion from under to over until flour is just mixed in. Do not overmix.
- Once waffle iron is proper temperature (usually shows a green light) spray the plates with cooking oil.
- Pour 1/4 Cup of the batter onto the center of the griddle.
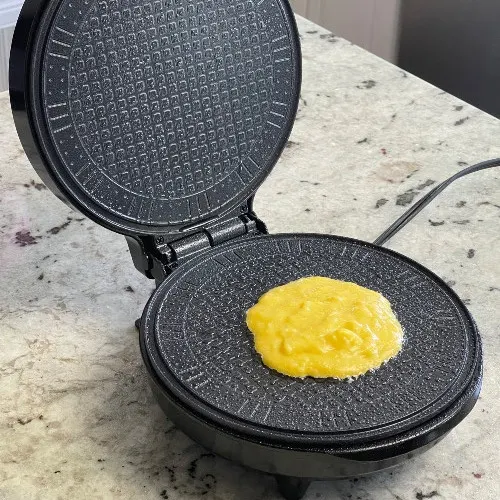
- Gently but firmly Lay the top iron over the batter and cook until the waffle is golden brown. (2 to 3 minutes)
- Remove and immediately fold each waffle as they come off the griddle.

Making Waffle Cones:
- Remove the piping hot waffle from the griddle and lay on parchment paper.
- Immediately (you may have to use a towel to protect your hands from the heat) Lay the rolling form at the top edge of the waffle (for large cone) and roll the waffle until it closes. For small cone set the waffle roller form at the bottom edge of the waffle and you will get a tighter narrower cone.
- TIPS: Wet edge of waffle to help the edges stick together. If you cook the waffle correctly it will hold its shape better once it cools.
Making Waffle bowls:
- Lay the piping hot waffle into a bowl.
- Press the waffle into the bowl shape using a towel and your hands or other utensil.
- Allow waffle to dry and it will hold the shape.
Notes
This process gets better with experience. Here are some tips:
- The waffle cones will hold a shape best when golden brown. If you undercook them they will tend to fall aprat since they hold too much moisture.
- Overcooking them leads to cracking and falling apart when form.
- Work with HOT waffles to get the shape right. Too cool waffles will not form a good cone.
- To prevent ice cream melting through the bottom of the cone experiment with doing a small fold on the bottom to keep the ice cream in the cone.
Variations:
Here are a few different versions of waffle cone recipes to add variety and deliciousness to your homemade cones: There is no measured amount for these versions. Just add what you like to taste.
Chocolate Waffle Cone Recipe: Add cocoa powder to your waffle cone batter to infuse it with a rich chocolate flavor. You can adjust the amount of cocoa powder based on your preference for a mild or intense chocolate taste. The result is a delectable chocolate waffle cone that pairs perfectly with any ice cream flavor, particularly chocolate-based ones.
Cinnamon Spice Waffle Cones: Add a touch of warmth and spice to your waffle cones by incorporating ground cinnamon into the batter. The aromatic cinnamon flavor will infuse the cones with a cozy, comforting taste. These cones are especially delightful when filled with flavors like vanilla, caramel, or apple pie-inspired ice creams.
Citrus Zest Waffle Cones: Enhance your waffle cone's flavor with the zesty goodness of citrus. Simply add a teaspoon or two of grated lemon or orange zest to your batter. The citrus zest will provide a refreshing and tangy twist to your cones. Pair them with fruity ice cream flavors like lemon sorbet or orange sherbet.
Almond or Coconut Waffle Cones: For a nutty or tropical twist, try adding in almond or coconut extracts into your waffle cone batter. These extracts add a distinct flavor profile that pairs well with a wide range of ice cream flavors. Almond-flavored waffle cones complement nutty and chocolate-based ice creams, while coconut-flavored cones pair beautifully with tropical flavors like mango, pineapple, or coconut ice cream.
Matcha Green Tea Waffle Cones: Infuse your waffle cones with the vibrant and earthy flavors of matcha green tea powder. Add a tablespoon or two of matcha powder to your batter, adjusting the amount based on your preference for intensity. Matcha waffle cones create a unique and visually striking base for green tea or other tea-flavored ice creams.
Savory Waffle Cones: Waffle cones don't have to be limited to sweet fillings. You can experiment with savory versions by reducing the sugar in the batter and adding savory herbs and spices such as garlic powder, dried herbs, or grated cheese. These cones can be filled with savory ice creams, like tomato basil or bacon-infused flavors, or even used as a creative vessel for appetizers like chicken salad or vegetable dips.
Nutrition Information
Yield
6Serving Size
1Amount Per Serving Calories 213Total Fat 10gSaturated Fat 5gTrans Fat 0gUnsaturated Fat 4gCholesterol 83mgSodium 127mgCarbohydrates 28gFiber 1gSugar 17gProtein 4g
Our Favorite ice Cream Recipes:
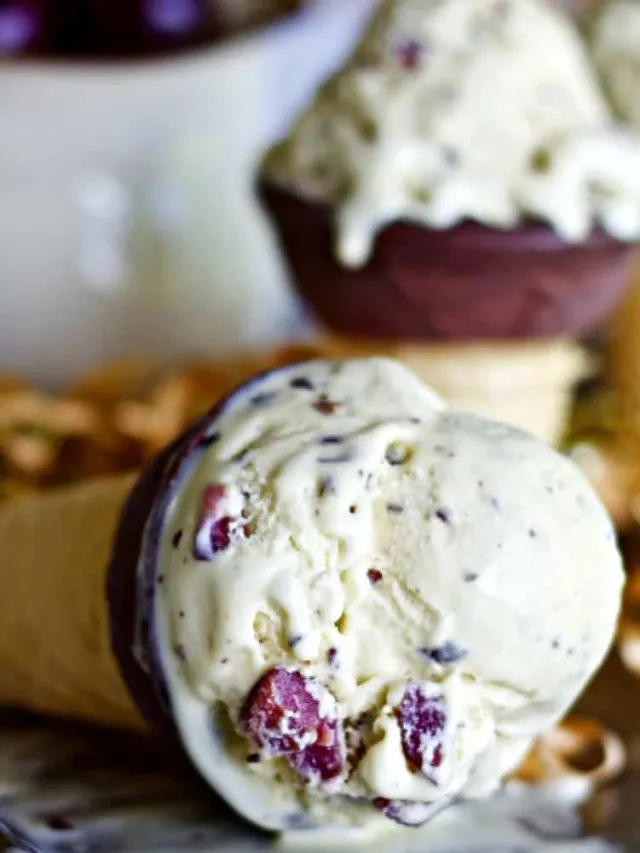
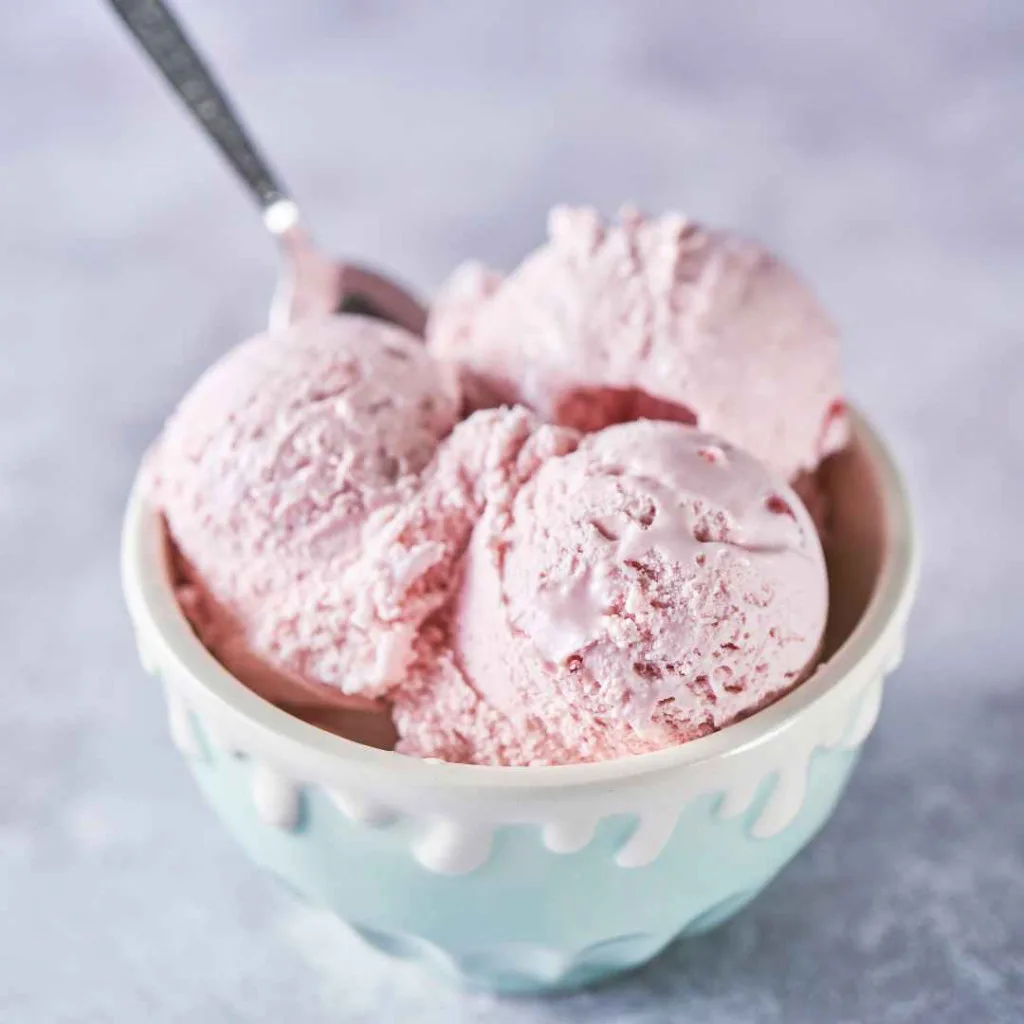
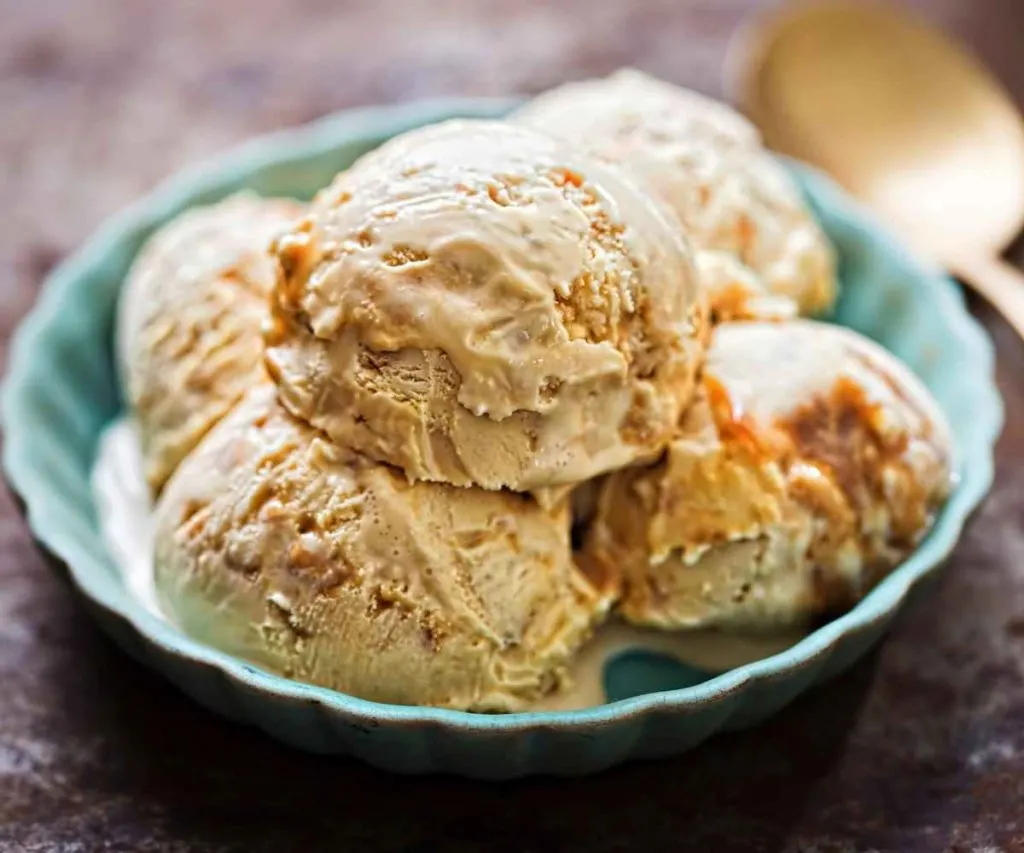
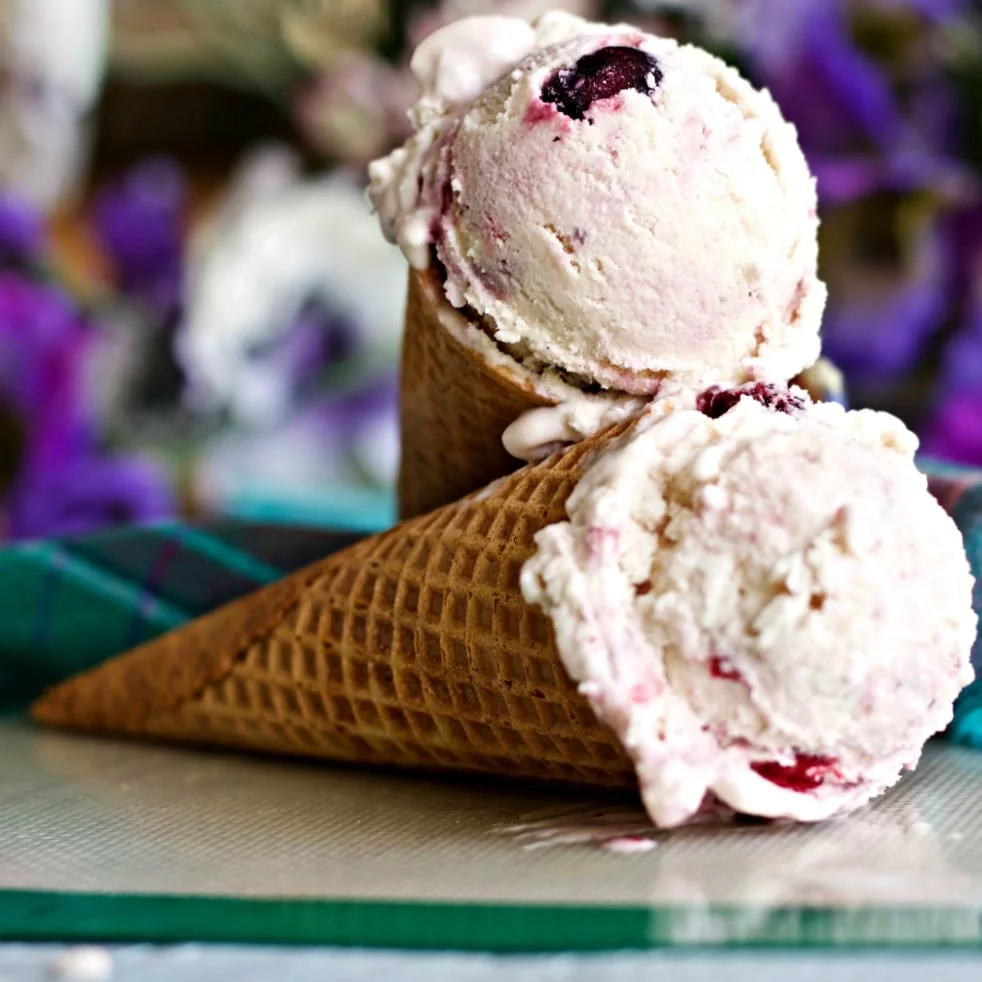
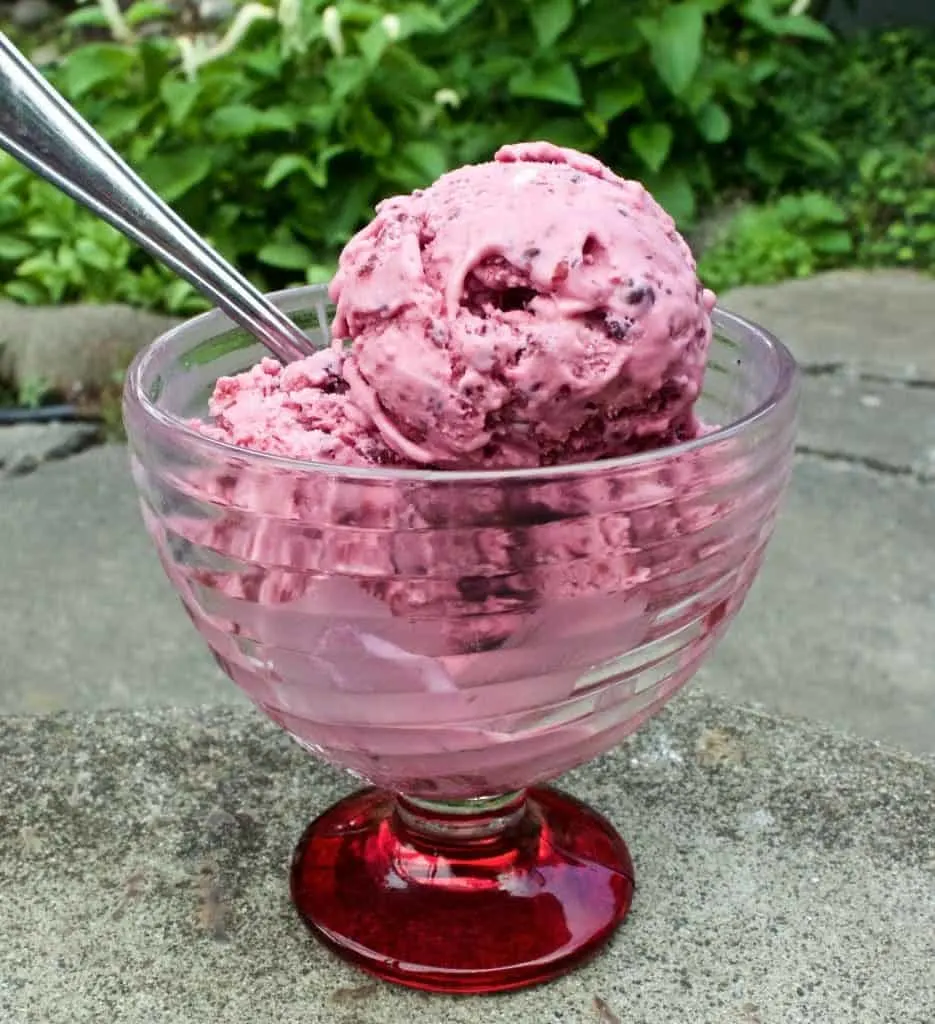
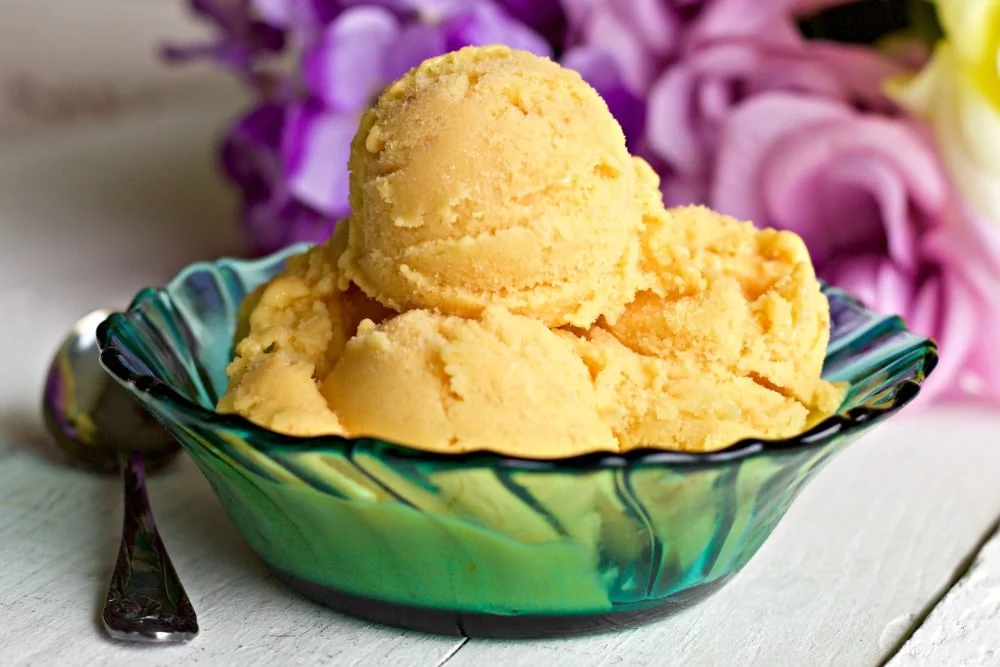
Looking for homemade Ice cream recipes to put into your delicious waffle cones? Here are a few of our favorites. There are plenty more where they came from. Check out all our ice creams here.
More Delicious Waffle Recipes:
Toppings for Waffles and Ice Cream:
Follow Us:
We enjoy meeting you on our social networks. Follow us on Facebook, Pinterest, Instagram . Tag us with your pictures of our recipes and comment on how it went for you. We would love to see what you do with them.
We often like, comment and share your posts of our recipes on our daily Instagram stories.
Ask questions and rate the recipe in the comments section below. Please share what you did with this recipe. We are always looking for more and better ways to make homemade food. Other cooks love your ideas!
Recent Posts:
