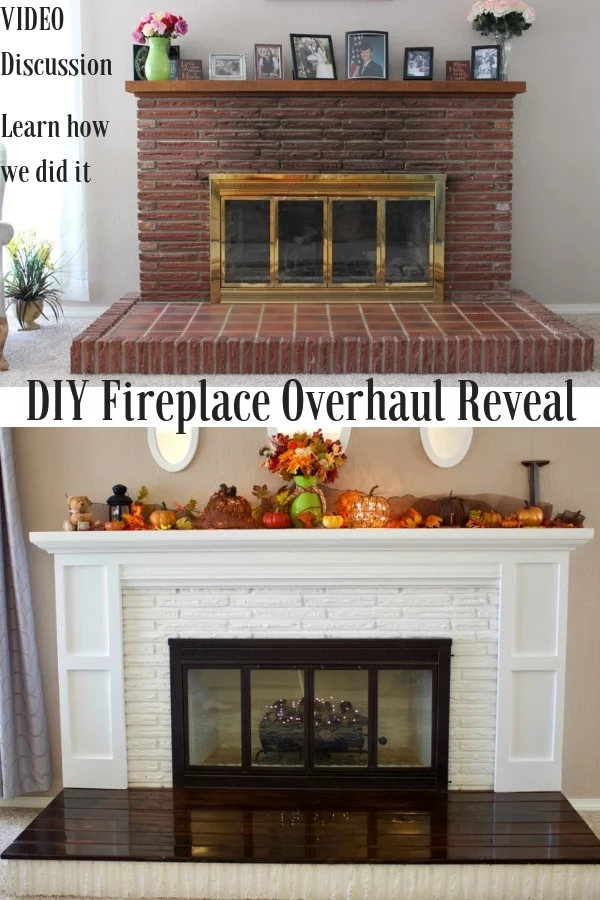
FINALLY! Our DIY Fireplace overhaul reveal. After three years (blush) we decided it’s time to let you see how it turned out.
The backstory is that Brian and I bought an old house with a REALLY ugly HUGE brick fireplace. It was the eye sore standing in the very center of our living room.
We decided before we bought the house we would overhaul the fireplace first as it commands attention and we just could not stand to live with it.
It took about three months to transform it to what you see here.
We made a post series to show you how we did it. For whole story and all the steps we took to turn this old eyesore into a stunning focal point for our living room….Read Fireplace Overhaul 1, Fireplace Overhaul 2, And Fireplace Overhaul 3 .
This is the big reveal. Now you can see it completed.

Our video discussion walks you through the details of what we did and why we decided on each part of the fireplace overhaul.
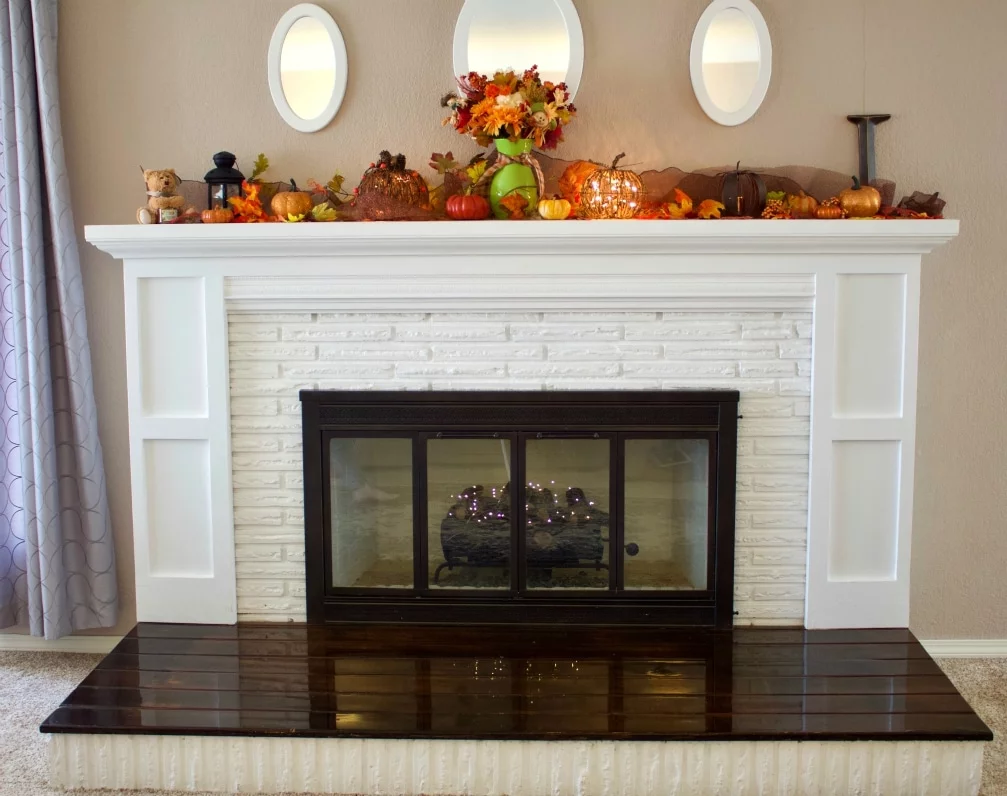
This fireplace has easily turned into one of my favorite features in our house. I never get tired of looking at it or redecorating it. My style is classic and traditional, this fireplace hit on all those points.
Our living room has a traditional cove ceiling and plaster walls so we needed to keep the traditional look alive and steer clear of a modern feel.
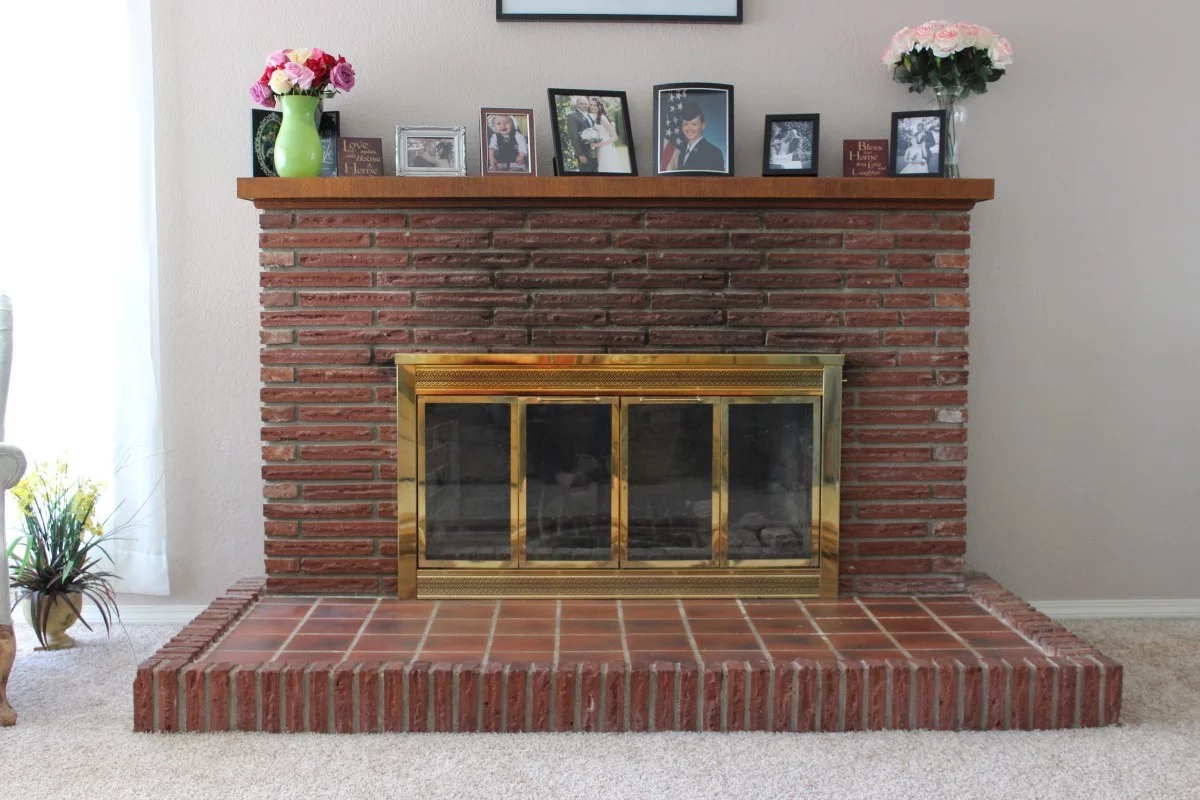
We upgraded the look easily by just painting the bricks white. The fireplace bricks were old, red, and soot covered. Valspar Aspire white paint, this paint covered in one easy coat with no priming. That was a huge time saver.
We painted the outside and the inside of the fireplace. Learn more about that in DIY Fireplace Overhaul 2.
We chose to paint the interior of the fire chamber because our fireplace is unusable as a wood burning stove. The chimney was filled with cement before we moved in so we will not be able to burn wood inside of it.
Painting the chamber white helped modernize and improve the overall look of the fireplace.
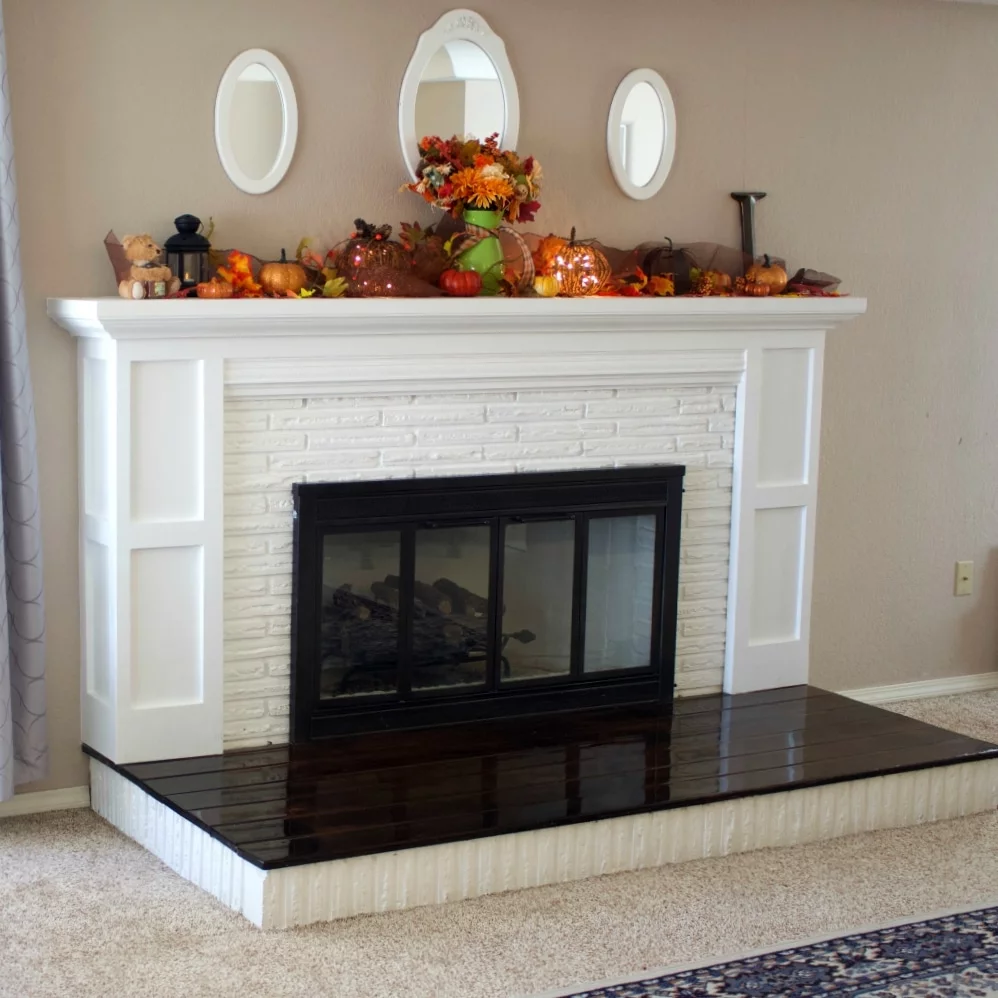
One of my favorite features of the fireplace is the epoxy coated hearth.
We repurposed cedar wood panels from a bedroom that we took out of our house when we first moved in.
The wood panels were then sanded, stained, and glued together to form a hearth top.
We then glued them with construction adhesive onto the existing brick hearth and coated them with a resin epoxy.
The bartop has continued to hold up and stay shiny and beautiful over the last 6 years.
It’s also waterproof and very scratch and dent resistant. I highly recommend using epoxy if you have rough housing small children around.
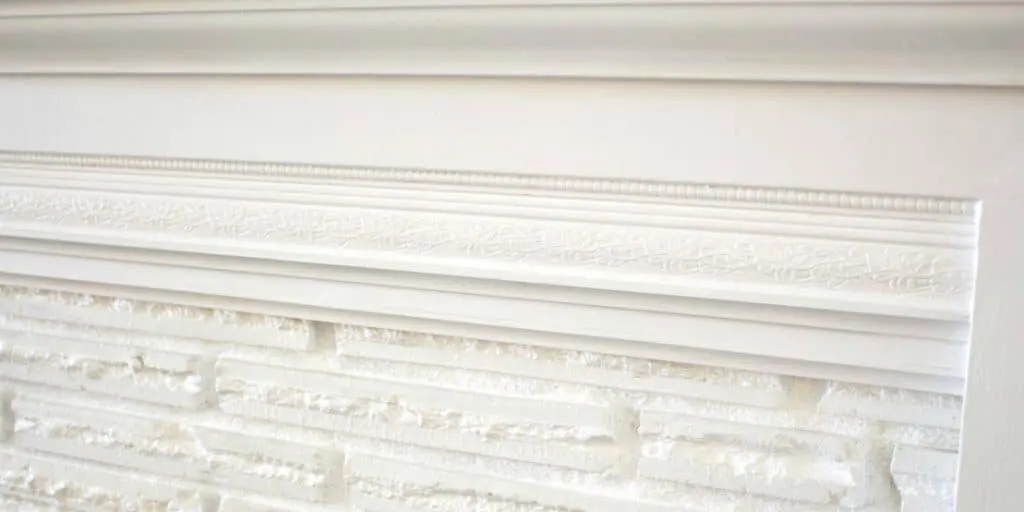
The mantel and surround turned out absolutely stunning.
I told my husband what my vision was for the mantel and he delivered! He essentially built a box around the existing brick fireplace and built the mantel on top of that. The rest of the surround was created using lots of wood trim pieces and crown moulding.

You can make a fireplace very traditional and classic with trim and moulding. It makes the fireplace very easy to decorate in many styles and creates a stunning look all on it’s own. Use ours as an inspiration. Find your own look and go shopping. We found our materials at home depot and Brian created the mantle from the trims and moldings we liked.
I hope that our reveal has inspired you to turn your old fireplace into something new and exciting! I know if we ever move into another old house we would not hesitate to do a fireplace overhaul all over again. In the meantime, we are enjoying and loving the beautiful centerpiece of our home.
Right now we are about 75 % done with a HUGE remodeling project. Much of which is DIY. You can follow our current whole house remodel on our You tube THIS IS OUR HOME channel. We’d love to see you there!
Pin this Post:
