Welcome to our series on Freeze drying for the home. In our previous two posts we wrote about How Does Freeze Drying Work? to answer your questions about the actual process of freeze drying. Next we Focused on the Freeze Dryer Machine itself and how to decide if this is a good purchase for you with a brief overview of the process and equipment.
This article delves even deeper into freeze drying equipment and accessories. What is essential to have for freeze drying? And what equipment is just nice to have? Let’s look at what might be a good choice for you. It all depends on how often you freeze dry and your individual circumstances.
ALL of the accessories covered here are helpful or necessary to make freeze dried foods. And as you continue in your freeze drying adventures, trying out new foods and methods, freeze drying accessories that you need may change. Let’s look into it!
Freeze drying at home allows you to preserve a LONG list of foods for long-term storage, at room temperature, while retaining almost all of the food nutrients.
The Freeze drying equipment required is an investment for sure, but so worth it if you use it. This is a very simple process that allows you to economize your food budget over time while ensuring your pantry is stocked.
Essential Freeze Drying Equipment:
What equipment is needed for freeze drying? Along with the freeze dryer you’ll need a vacuum pump, oil for it, and a dedicated place to set up your freeze drying system permanently.
Choose a dedicated place in your home, shop or garage that best fits your needs. You’ll need other accessories and equipment as well. Let’s figure that out.
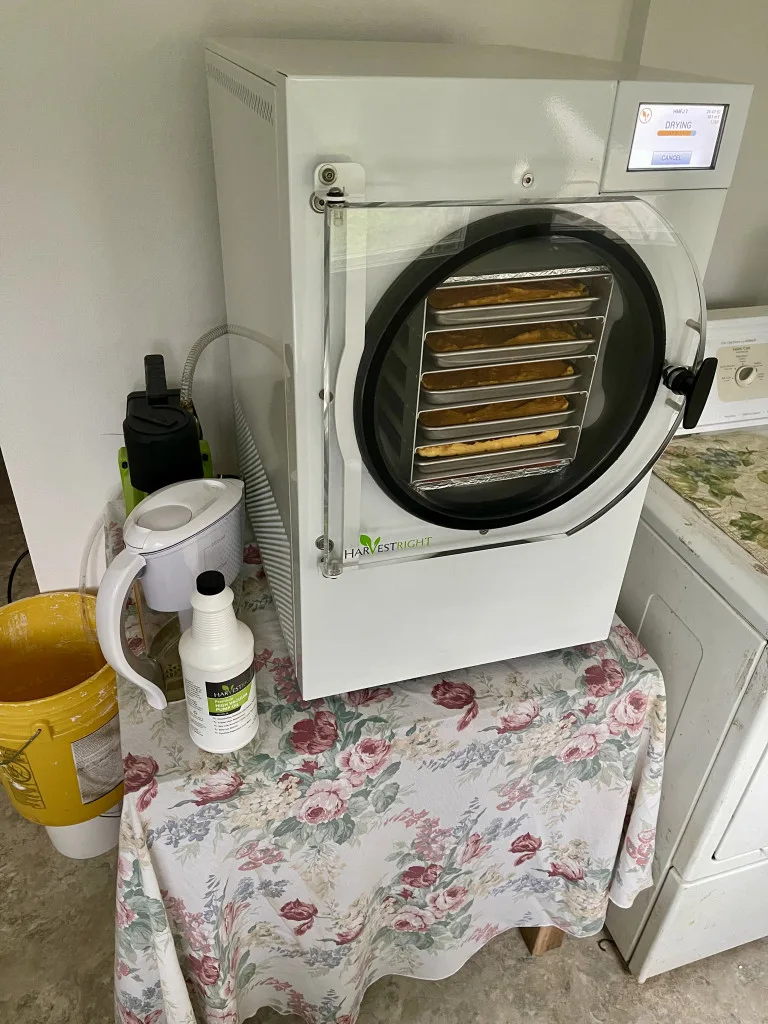
There are various brands and models of freeze dryers for the home available. Choose one that suits your needs and budget. I chose The Medium sized Harvest Right Pro. It fits my needs perfectly.
Depending on which freeze dryer you purchase, some or most of what you need for a basic set up will come with your freeze dryer.
Harvest right has a basic set up package that they ship with their freeze dryers. Other companies may have their own initial set up packages and you will need to check what they include.
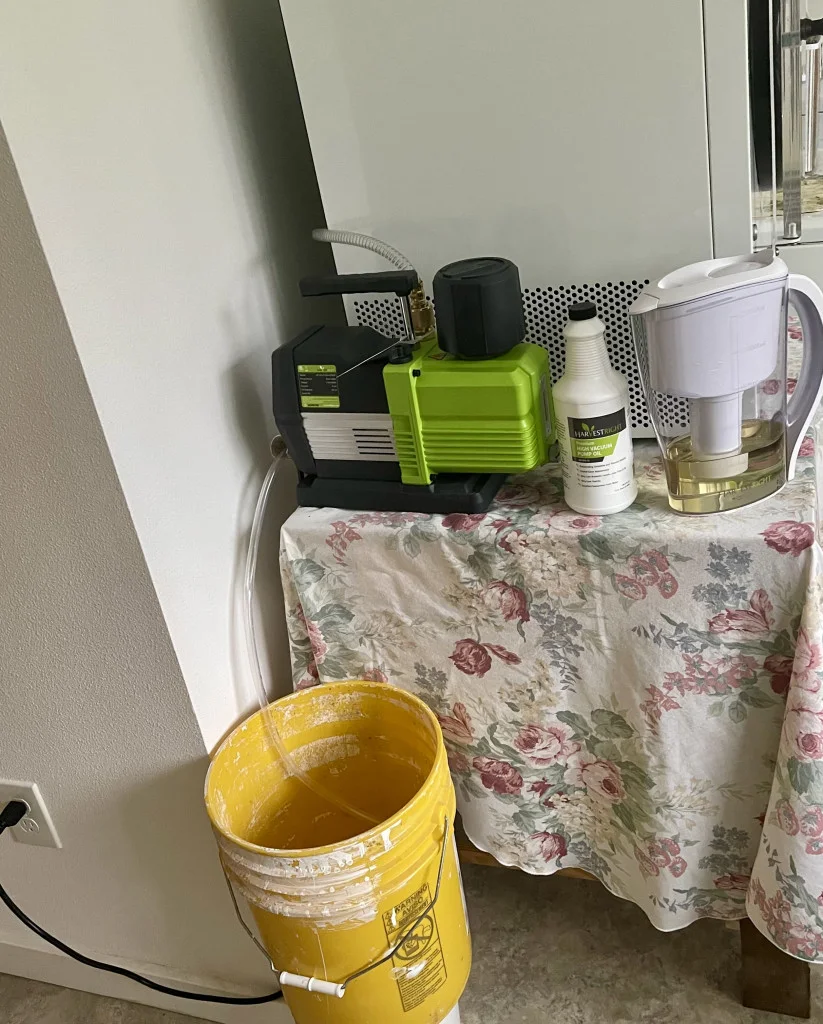
Harvest right ships it’s freeze dryers with a vacuum pump, oil and an oil filter and all the hoses and fittings necessary to connect it all. You can see ours pictured below. My husband cobbled together a table out of wood scraps for it and provided one of his many ugly paint buckets to catch the drainage. We set it up in our basement utility room near our chest freezers.
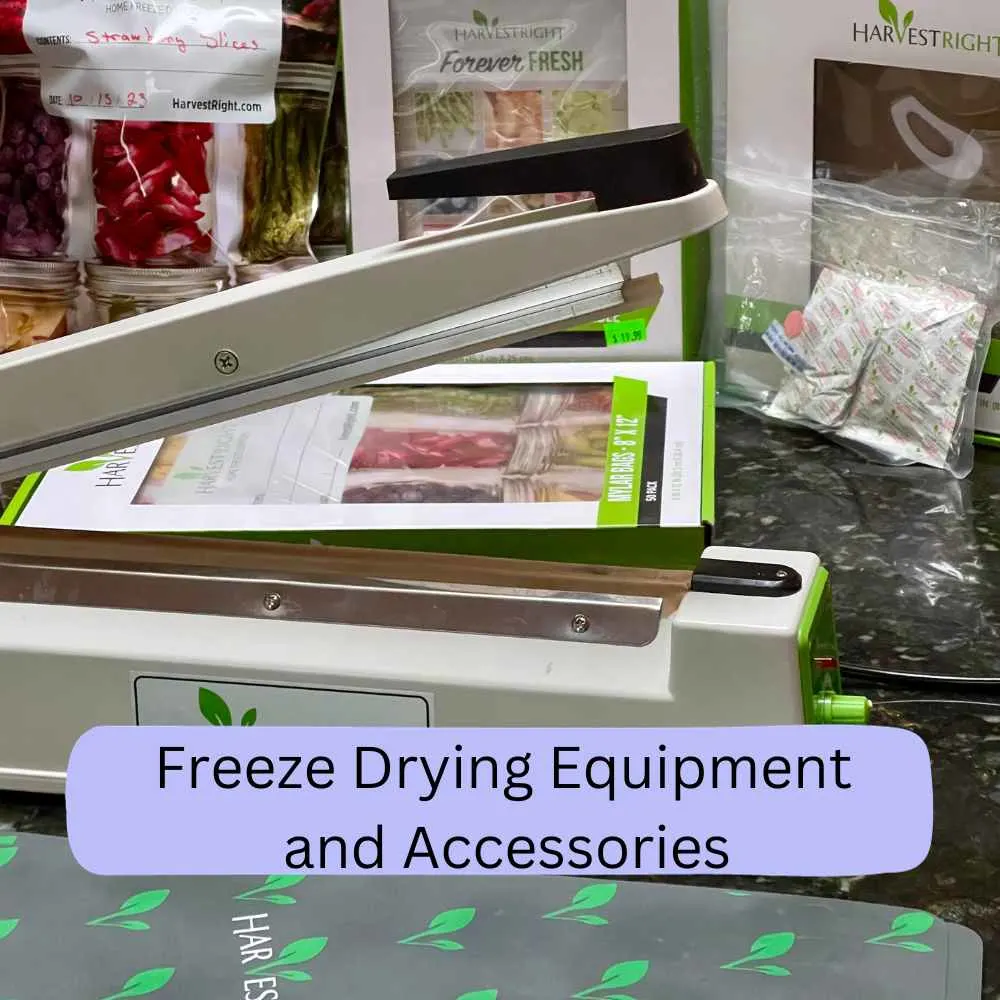
Harvest right also includes a set of metal trays, some mylar bags, O2 absorbers and a bag heat sealer. So you can get started right away with this brand.
Equipment For The Basic Freeze dryer Set Up:
Let’s go through the basic freeze dry equipment so you know more about it.
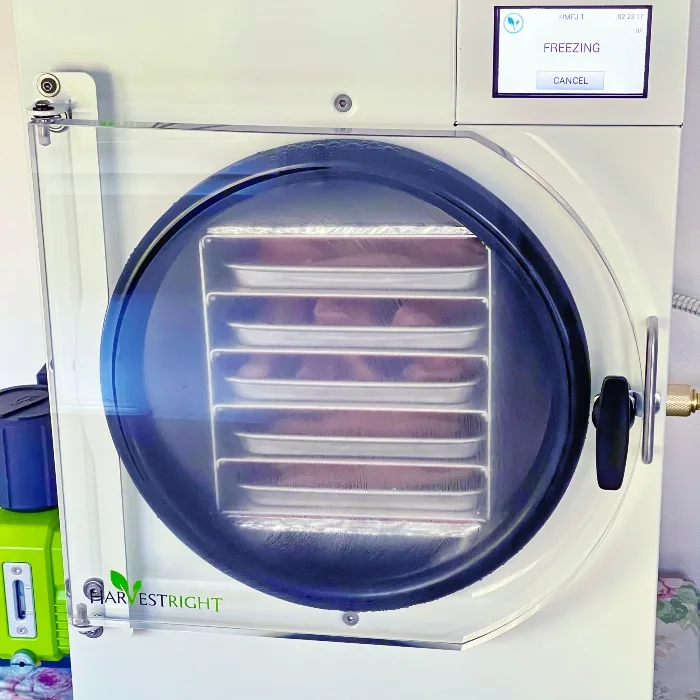
Freeze Dryer: Do you need a special machine to freeze dry? Yes! You need a home freeze dryer. This machine is specially designed to remove moisture from food through sublimation while preserving the structure of your food and retaining most of the nutrients.
To set up a freeze dryer you will need to put it on an elevated surface like a counter top, table or strong wheeled cart. The elevation is necessary since, after every batch of food is freeze dried the freeze dryer will defrost. This causes water to melt and it comes out a hose in the side of the machine.
Vacuum Pump: You must have a vacuum pump to create a low-pressure environment inside the freeze dryer chamber. This enables the sublimation of ice from frozen items. Harvest right and some other brands include the pump in their freeze dryer package as part of the sales price. If you have to purchases a pump separately, make sure it’s compatible with your freeze dryer model.
Pump oil and oil filter. The pump must have the proper oil and it must be filtered or replaced periodically. It’s extremely important to maintain your pump oil so consider this an essential item.
Instruction manual and freeze dried food Recipes: Have a good understanding of the freeze-drying process, and follow the instructions provided by the manufacturer.Always refer to the user manual of your specific freeze dryer model for proper usage instructions and safety precautions. Recipes or guidelines for specific foods can also be helpful.
Maintenance Kit: Follow the manufacturer’s guidelines for regular maintenance of your freeze dryer. Keep a maintenance kit on hand with any recommended replacement parts, such as gaskets or filters.
Dedicated area for the pump and Freeze Dryer: Freeze dryers large are heavy. Find a place for your freeze dryer that if high enough off the floor to gravity drain the dryer when it defrosts. Some people use a garage or shop. I have mine in my basement next to my chest freezer.
Table, cart or counter area large enough (30 inches wide by 24 inches deep is plenty) to hold the freeze dryer and pump.
Bucket After the machine defrosts, It needs a bucket to drain into. Then you discard the water. I throw mine into our dog yard through a door nearby.
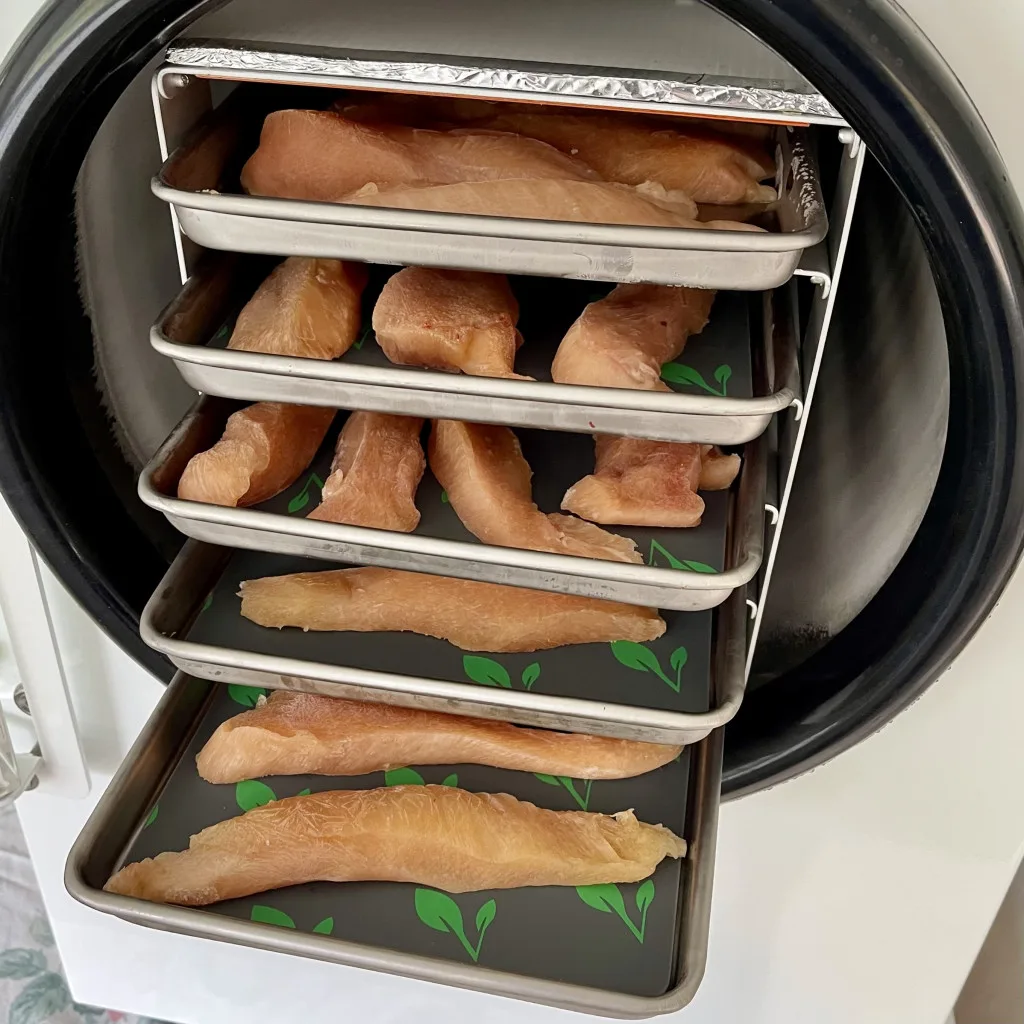
Trays for the food that fit into your machine. (Harvest right trays are included in purchase)
Mylar Bags or Air tight Containers:
Storage Mylar bags or airtight containers (like Mason Jars) with sealing systems for long term storage. Freeze dried food MUST be kept oxygen free for long term storage. Mylar bags are designed for long term food storage. When properly filled and sealed with absolutely dry food, they will protect food up to 25 years.
Oxygen Absorbers: Adding an oxygen absorber to your freeze dried food will keep removing O2 long after sealing up the container. Read our ultimate guide to Oxygen absorbers here.
Proper packaging is essential for the success of freeze drying. Use sealable Mylar bags or air tight containers to prevent moisture from re-entering the freeze-dried items.
Sealing The Bags or Jars:
Once you have the food in the bag you must seal the bag and remove ALL the oxygen. If your items are being stored in vacuum-sealed bags, a heat sealer is necessary to create a tight seal on the bags after removing air. Some people choose to use a cloths iron or hair curler.
Chamber Sealer: This is a high end vacuum sealer machine. You put the whole bag into the internal well, close the lid and the chamber sucks out all the air and seals the bag. It also has an attachment for sealing mason jars and other hair tight containers. Very cool machines. The Avid Armor Brand chamber sealers (available on Amazon)
SOME regular vacuum sealers will also work to seal mylar bags. You can buy special mylar bags for vacuum sealers from Amazon, or use the handy tip in this video by Back Pack Hack to seal regular mylar bags with a vacuum sealer.
Labeling Supplies: Clearly label each container with the contents and date of freeze-drying. This helps you keep track of the shelf life and easily identify items.
Food Prep area and equipment for making food to freeze dry, load the trays and store the food after freeze drying. I use my kitchen for food prep.
Long term Storage area for Freeze dried food. This can be large waterproof totes, shelves or whatever you find most useful for long term storage of food.
Optional(but nice to have) Freeze-drying Equipment, Accessories, and Materials:
Chest freezer for pre-freezing:
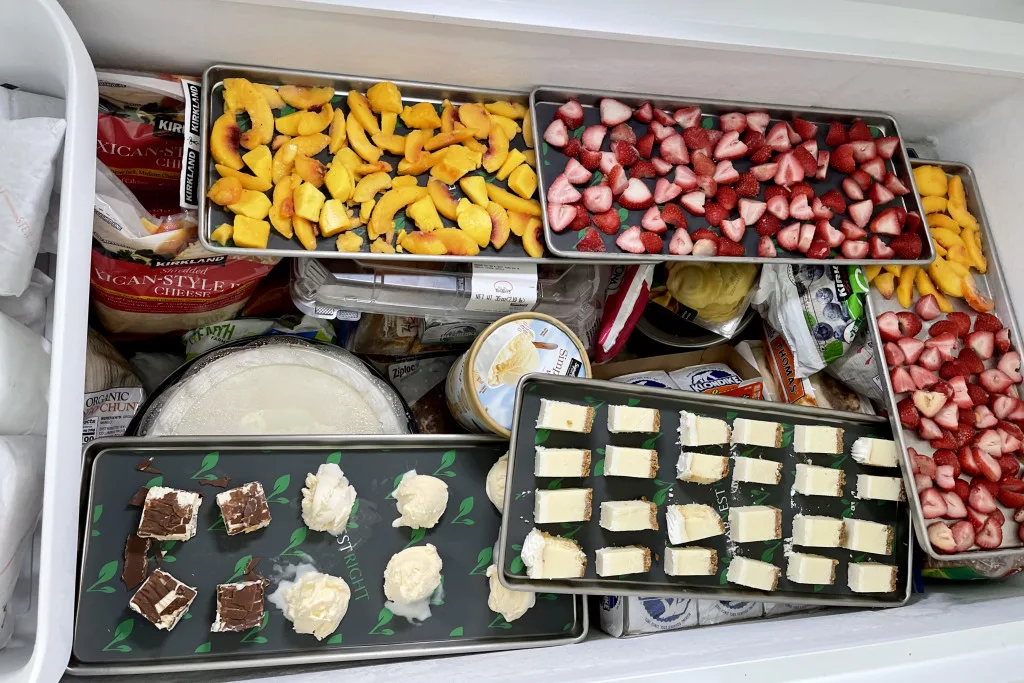
pre-freezing items on your trays before placing them in the freeze dryer will speed up the process. A chest freezer is an excellent tool for this purpose. If you have one I highly suggest you pre freeze your trays of food before you freeze dry them to save time.
Extra set of trays:
If your pre-freezing foods for the next batch going into your freeze dryer, an extra set of trays helps enormously to get large quantities of food freeze dried as quickly as possible. This is especially helpful during the harvest season or when you come into great deals on foods and need to run them through your freeze dryer as quickly as possible.
Tray Lids or corners:
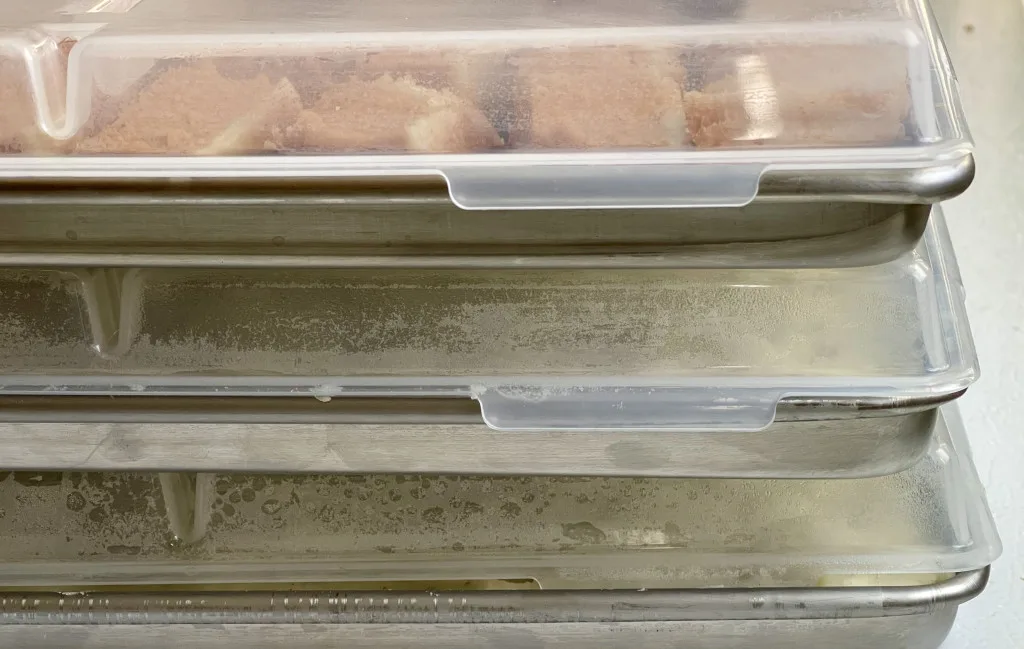
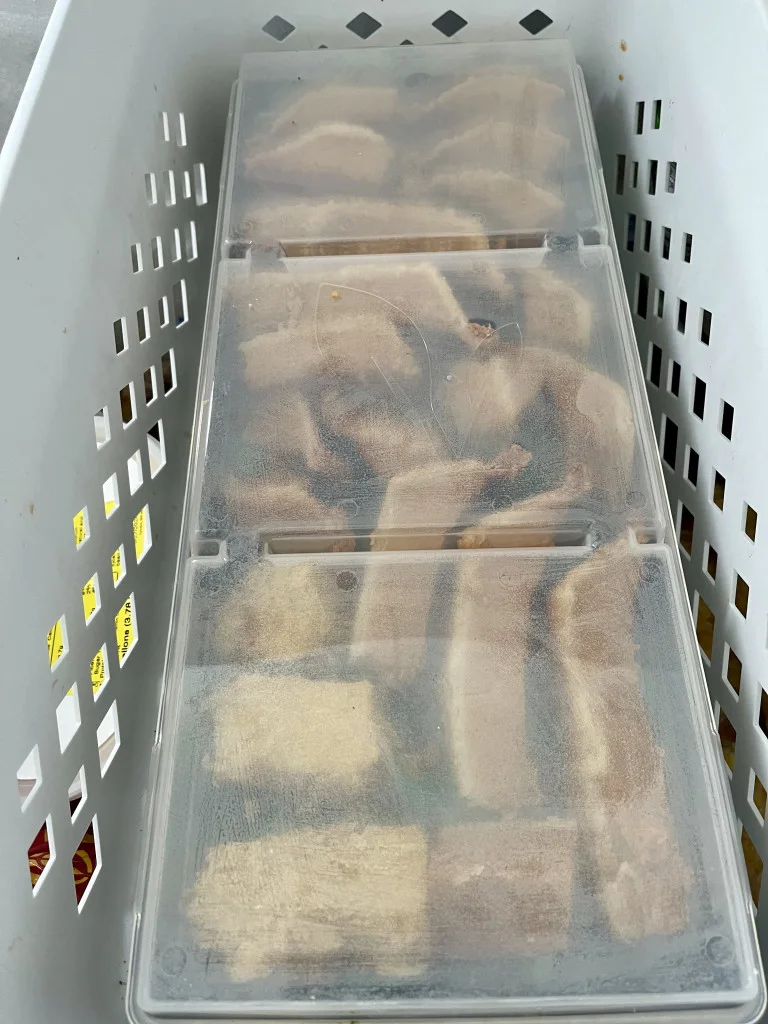
One challenge of pre-freezing in any freezer is getting the trays level so they won’t spill food all over your freezer. Also, five trays take a lot of room. Problematic if your freezer is full. Tray lids, or tray corners can be purchased and used to reduce the footprint of the five trays and keep them level while pre freezing.
A set of lids(Harvest right sells lids for its trays here) snapped onto the trays will help make them stackable and protect your freezer from spills. Stabelizing corners for trays from Amazon can also work for this.
Silicone Mats or Parchment Paper: Using silicone mats or parchment paper on trays can prevent sticking. This is especially helpful when drying banana and other sweet sticky foods or candy.
Tray inserts and dividers for soups, bars and other things you want to freeze dry in distinct portions are also available on Amazon and in several other places.

Food Prep Helpers:
Food processor or good blender. I use my Cuisinart 14 Cup Food Processor to chop food or make puree with an even size and texture. This makes it easy to load the trays and have a consistent result. And the food processor also easily makes the freeze dried foods into powder.
I have made powdered spaghetti sauce, bananas, salsa, applesauce and many other freeze dried foods into powders with my food processor. It’s so easy to add them into shakes, sauces, stir fries, or eat them alone when they are powdered and they take less storage space too.
Sharp knife set: You will appreciate a good knife set for food prep.
Mason jar or Bag funnel: A funnel or scooper of some kind to get the food into your bags and jars will really help speed up the process and keep things clean.
Moisture/Oxygen Absorbers: Adding moisture or oxygen absorbers to the sealed packages can further enhance the shelf life of freeze-dried items.
Scale: A kitchen scale can be useful for measuring and portioning items before freeze-drying.
Storage Helps:
Storing your carefully produced freeze dried food MUST be done properly. It’s not difficult. But to get the most out of your storage Here are some useful tools and tips.
- Record Keeping: Keep an inventory of the foods you’re freeze-drying, the date. This info helps for future reference and recipe adjustments. Experimenting with freeze drying and keeping detailed records will help you fine-tune your process for the best results.
- Use A Rotation System: Implement a FIFO (first in, first out) rotation system for your food storage. This ensures that you use older freeze-dried items first, maintaining freshness and quality.
- Storage Containers: Choose airtight, moisture-proof storage containers, pantry or shelves for your freeze-dried items. If you want freeze dried snacks on the counter to stay fresh, use air tight containers or mason jars with tight fitting lids. Mason jars also work fine for shorter length (2 to 5 years) long term storage if you keep them in a dark cool location and seal the jar(with a jar sealer) and add a new O2 absorber every time you use some of the contents. Mylar vacuum-sealed bags with O2 absorbers are recommended for the longest storage.
Related Articles
Freeze drying equipment and the whole process of freeze drying can be intimidating. It’s really quite simple once you’re set up and running. And you will love this new world of food when you get freeze drying for your family. Read these posts to learn more about freeze drying and if it is right for you!
- 12 Essential Organic Gardening Tips
- How to Freeze Blueberries
- How to Make Pumpkin Puree
- Butternut Soup
- Apple Pie Filling
- Lasagna Gardening
Follow Us:
We enjoy meeting you on our social networks. Follow us on Facebook, Pinterest, Instagram . Tag us with your pictures of our recipes and comment on how it went for you. We would love to see what you do with them.
We often like, comment and share your posts of our recipes on our daily Instagram stories.
Ask questions and rate the recipe in the comments section below. Please share what you did with this recipe. We are always looking for more and better ways to make homemade food. Other cooks love your ideas!
Recent Posts:
