This Rosemary Garlic sourdough bread is a perfect side for meat, hearty soups and stew dinners. You can make hearty grilled sandwiches with this hearty bread.
Making beautiful sourdough breads like this is not a difficult process once you get the sourdough starter perfected.
Flavorful rustic Rosemary Garlic sourdough bread is amazingly delicious. This homemade sourdough recipe with rosemary leaves and roasted garlic is easy to make and so satisfying to eat.
Sourdough recipes with starter demand a lot of time from the baker. If you already have a starter going just make sure it’s very active before you begin this recipe.
The subject of sourdough begins with the starter. For those of you interested, This article is all about the food science of sourdough starter .
I use my wild yeast Sourdough starter. Follow the link to learn how to make your own wild yeast starter.
I go on a sourdough frenzy once in a while and freeze up several homemade sourdough loves. Sourdough freezes REALLY well by the way. But it never lasts long in my freezer.
If you’ve never made sourdough bread before go visit my Beginners sourdough Bread recipe. You’ll find a complete tutorial full of tips to help you out.
In the process of getting your starter active you will create sourdough discard. I have several recipes for you that use up the discard when your activating your starter.
Don’t let it go to waste. All that flour is expensive. And sourdough discard recipes as delicious!
My current favorite sourdough discard recipe is White Chocolate Sourdough cookies. They are amazing! And easy.
Artisan Sourdough Bread Recipes:
Making your own Sourdough bread is just plain worth it. Baking bread is not difficult. It just takes time. If you have the proper tools. (They don’t cost much.)
It’s all about beating the learning curve. Once you have the Sourdough bread making basic methods down, it’s a beautiful hobby. And way of life. Making bread is fun, creative just enough foodie science thrown it to keep it interesting.
How do I add Garlic and Rosemary to Sourdough Bread?
The fresh rosemary and the roasted garlic cloves can be added to the sourdough bread dough after the autolyse stage (where the dough rests). Add the cooled garlic cloves and fresh chopped rosemary to the bread before the kneading process. The dough will be kneaded gently until the garlic and fresh rosemary are evenly distributed throughout.
Can you add Fresh Rosemary to Sourdough Bread?
Fresh Rosemary can be added to raw sourdough bread dough. Using fresh rosemary in sourdough bread can bring the best flavor profiles. Dried rosemary is not recommended, the flavor will be dull and not robust. For best results add fresh picked, chopped rosemary into the sourdough bread.
The Flours:
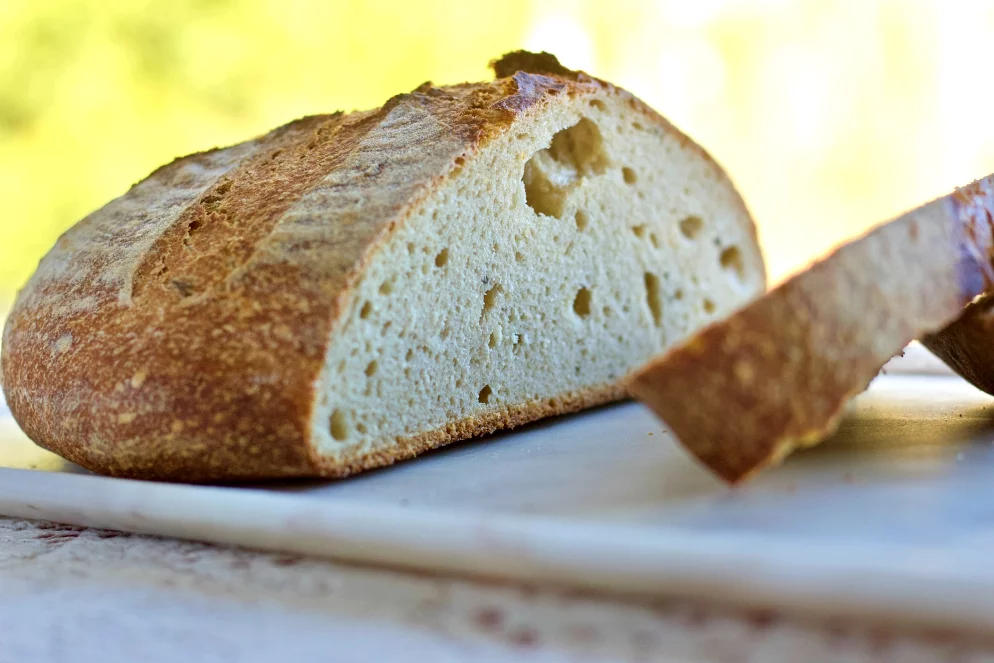
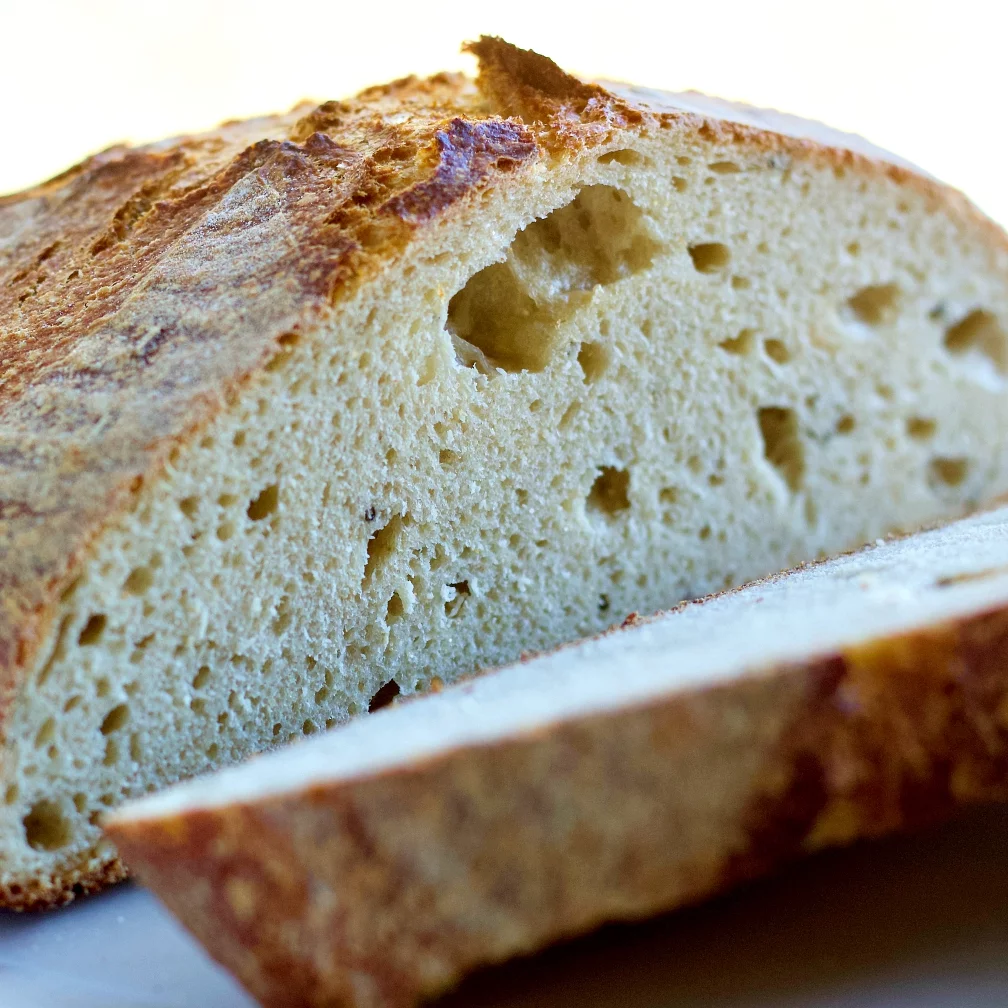
This is a whole grain bread. Or rather it’s a BLEND of whole wheat and all purpose or bread flour. As you see the crumb is a bit denser than my Artisan Sourdough bread. It’s more the look of this whole wheat sourdough bread version of that recipe.
Keeping the majority of the flour all purpose helps keep the bread from getting over the top dense with the addition of the roasted garlic. Choose a good quality high protein flour like King Arthur or Montana brands.
You can use 100 percent whole wheat flour if you prefer. The bread will be more rustic, tougher and with a chewier crust. Just perfect for dipping in a bowl of homemade soup.
Home ground flours:
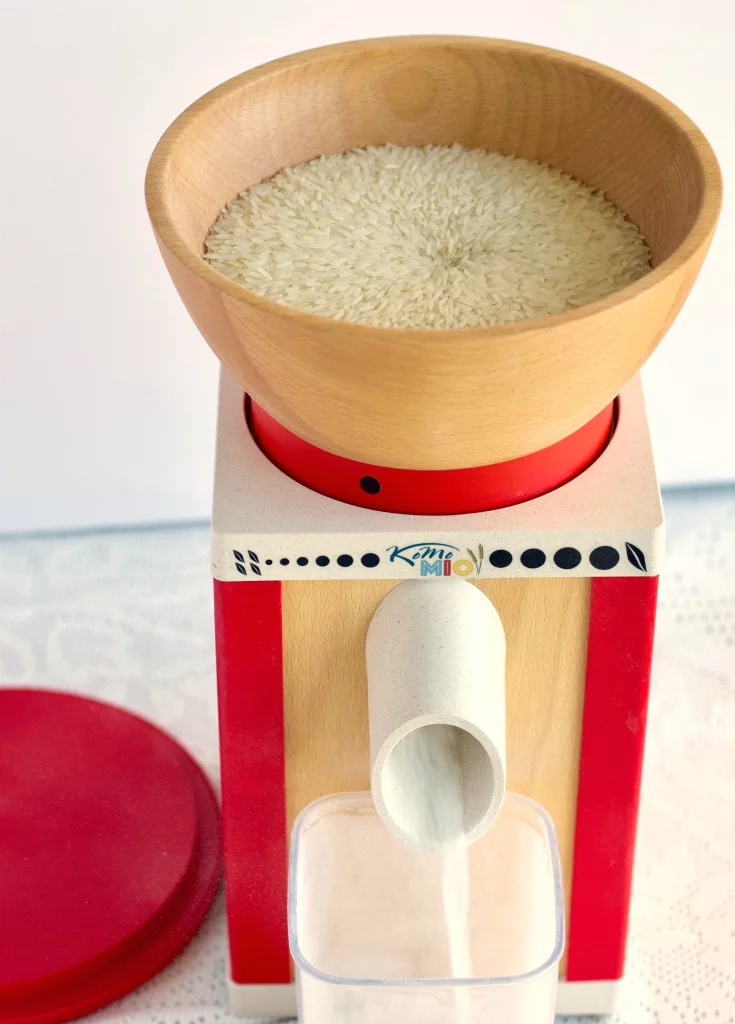
I ground my white whole wheat berries very fine in my KoMo Mio grain mill just as I was preparing to make this Rosemary Garlic Sourdough Bread.
I like my 100 whole wheat grain flour very fresh so it won’t go rancid. If you buy your wheat check the date and make sure it’s very fresh.
I use white whole wheat berries for my whole wheat recipes. White wheat berries make the bread texture lighter than red wheat berries and still adds the delicious nutty flavor, extra fiber and nutrients only a whole wheat flour can give you.
How to make Rosemary Garlic Sourdough Bread:
I made Rosemary Garlic Sourdough Bread in my Bosch mixer. It worked great for all the stages right up to the final shaping. This may not work in all mixers but I used mine and had good luck with it.
If you prefer to use a large mixing bowl that works fine too. I have made this recipe in a bowl by hand. It’s not really any harder. Just a little more hand work. You will knead this bread (very little) rather than use the stretch and fold method.
Although you CAN stretch and fold if you want to take the extra time.
The reason I made Rosemary Garlic Sourdough Bread in my mixer is in response to those of you that have asked for a quicker sourdough bread recipe. This is only going to take you about 14 hours total.
And most if that time the bread dough is doing the work and you are doing something else. Rosemary Garlic Sourdough Bread is AMAZING.
The flavor is so good and the dense chewy crust is a treat. We love this bread. It makes a good sandwich loaf.
The full recipe is in the Printable Rosemary Garlic Sourdough Bread recipe card at the bottom of this post. Below I give you tips on roasting garlic and the rosemary.
Roast Your Garlic:
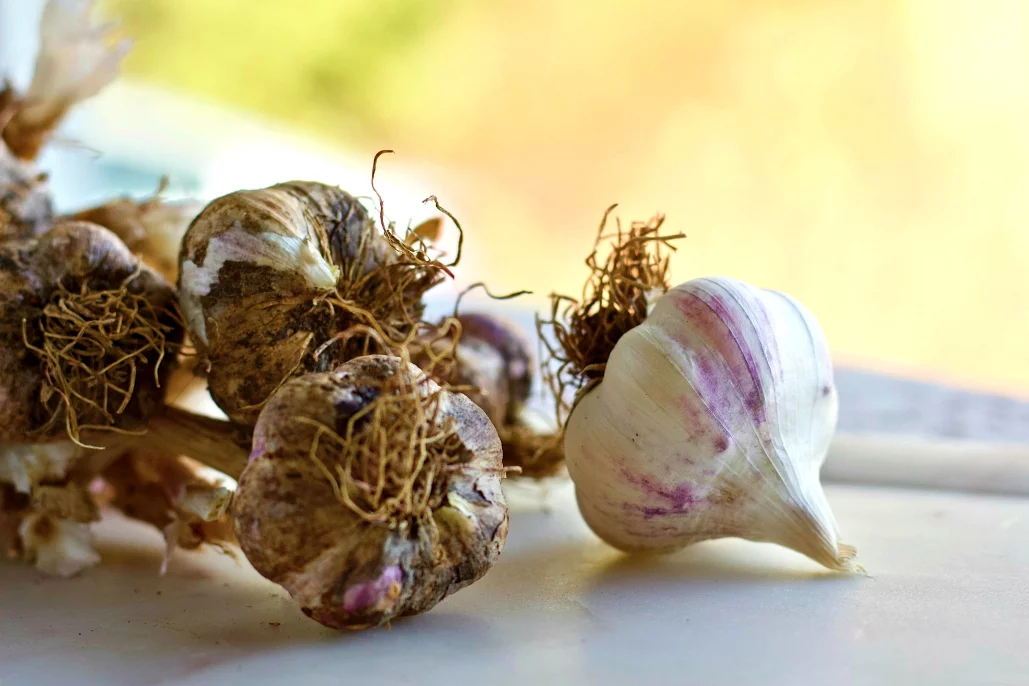
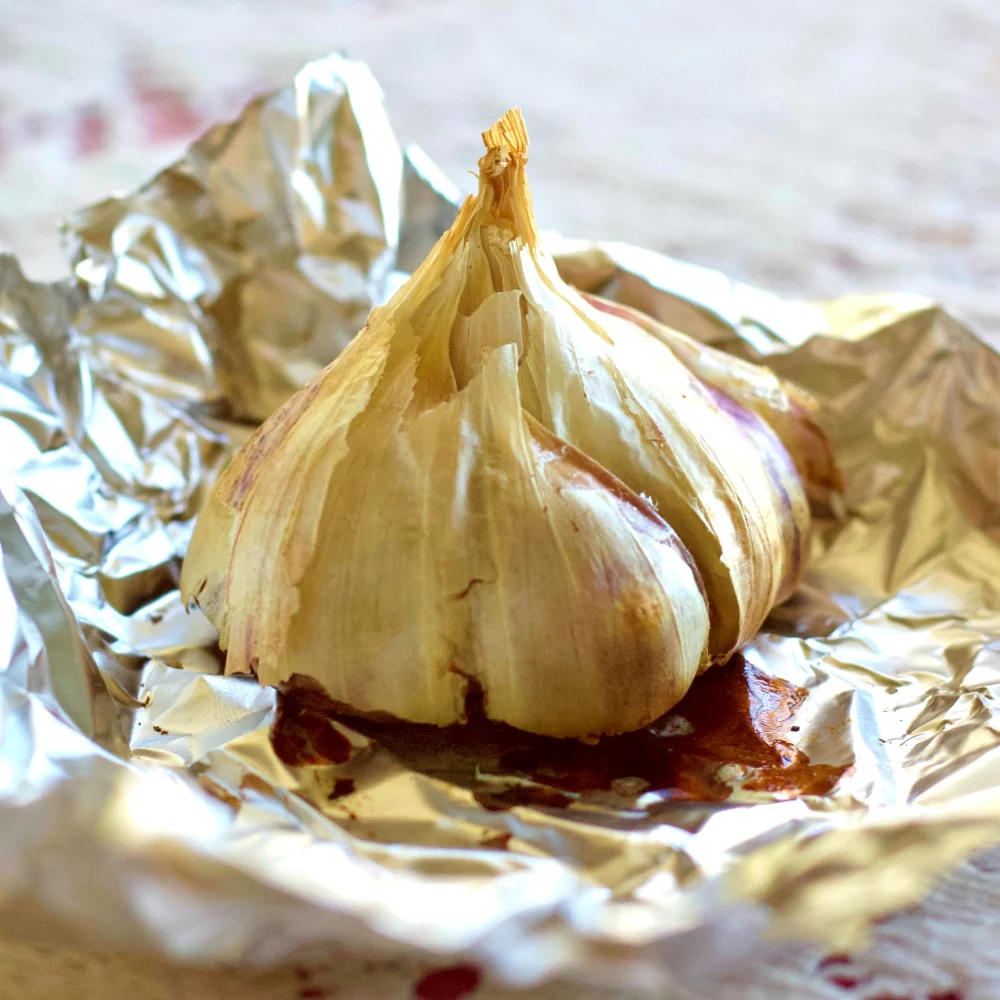
If you have you ever roasted garlic you know it’s so incredible how garlic intensifies flavor when roasted in your oven. Here’s how I roast garlic for this Rosemary Garlic Sourdough Bread recipe.
Roasting Garlic:
Make a bunch of roasted garlic and freeze the extra. It holds several weeks in the fridge too.
- Preheat your oven to 400
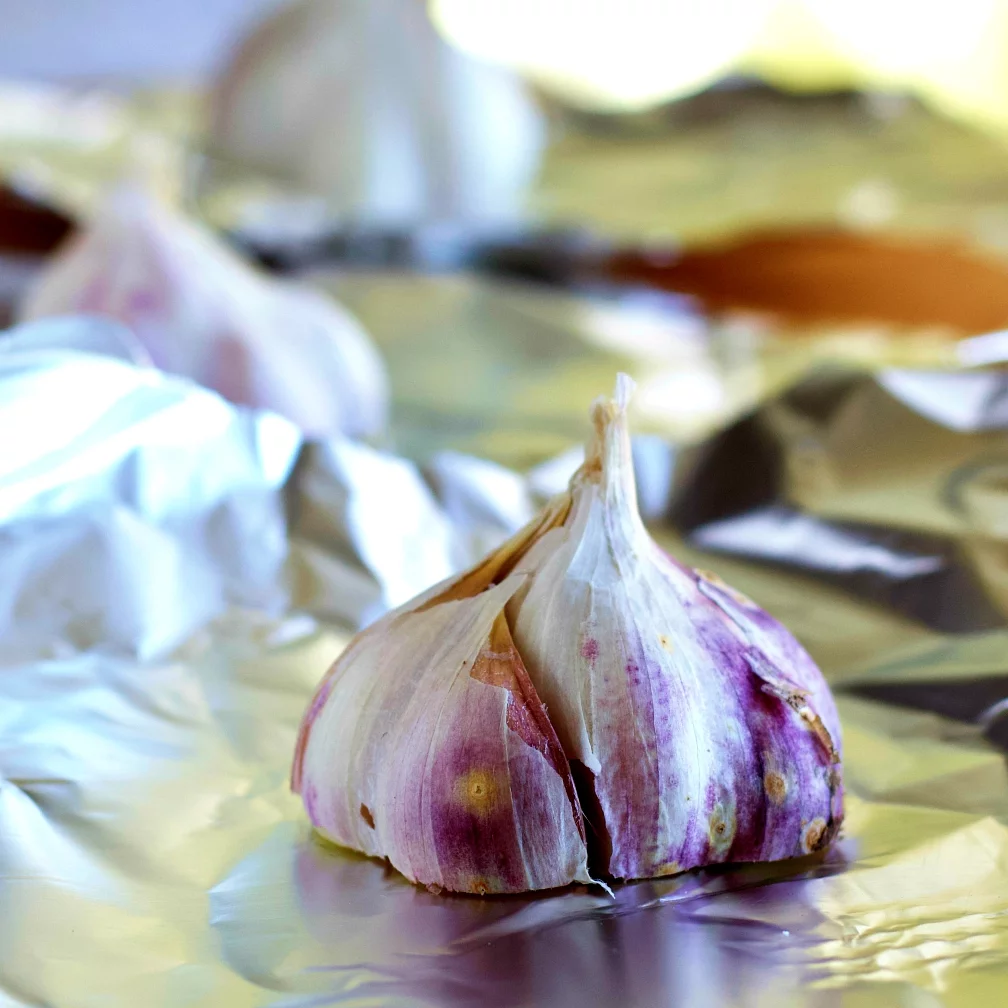
- Use whole bulbs of garlic. This recipe uses one entire bulb of garlic. That’s a lot of garlic cloves.
- Feel free to adjust the amount of garlic to your personal tastes. Especially if you use elephant garlic!
- Cut the root end off the garlic bulbs.
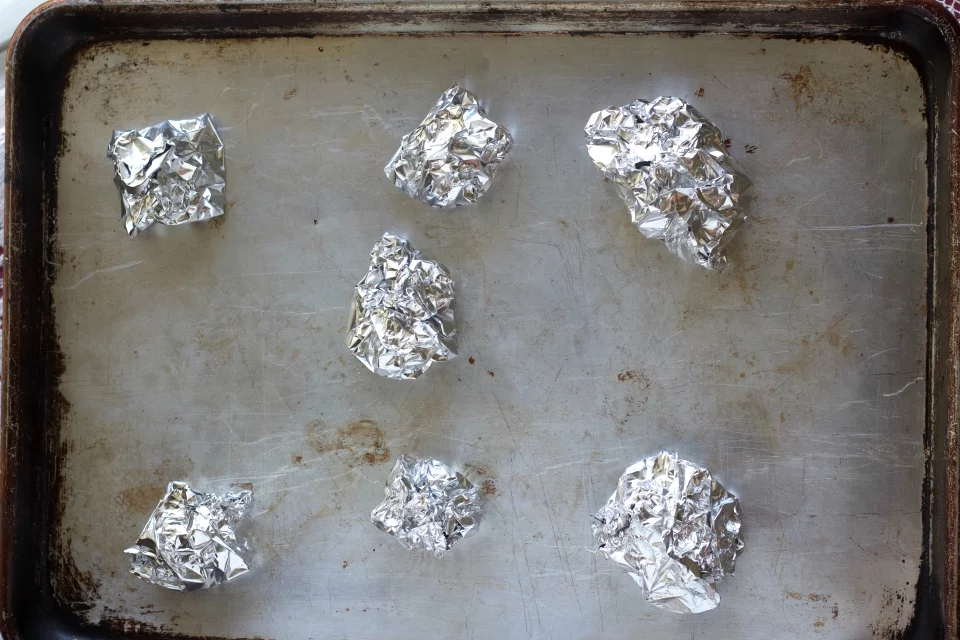
- Place each bulb on a square of tinfoil. Now wrap it tight.
Rosemary Leaves:
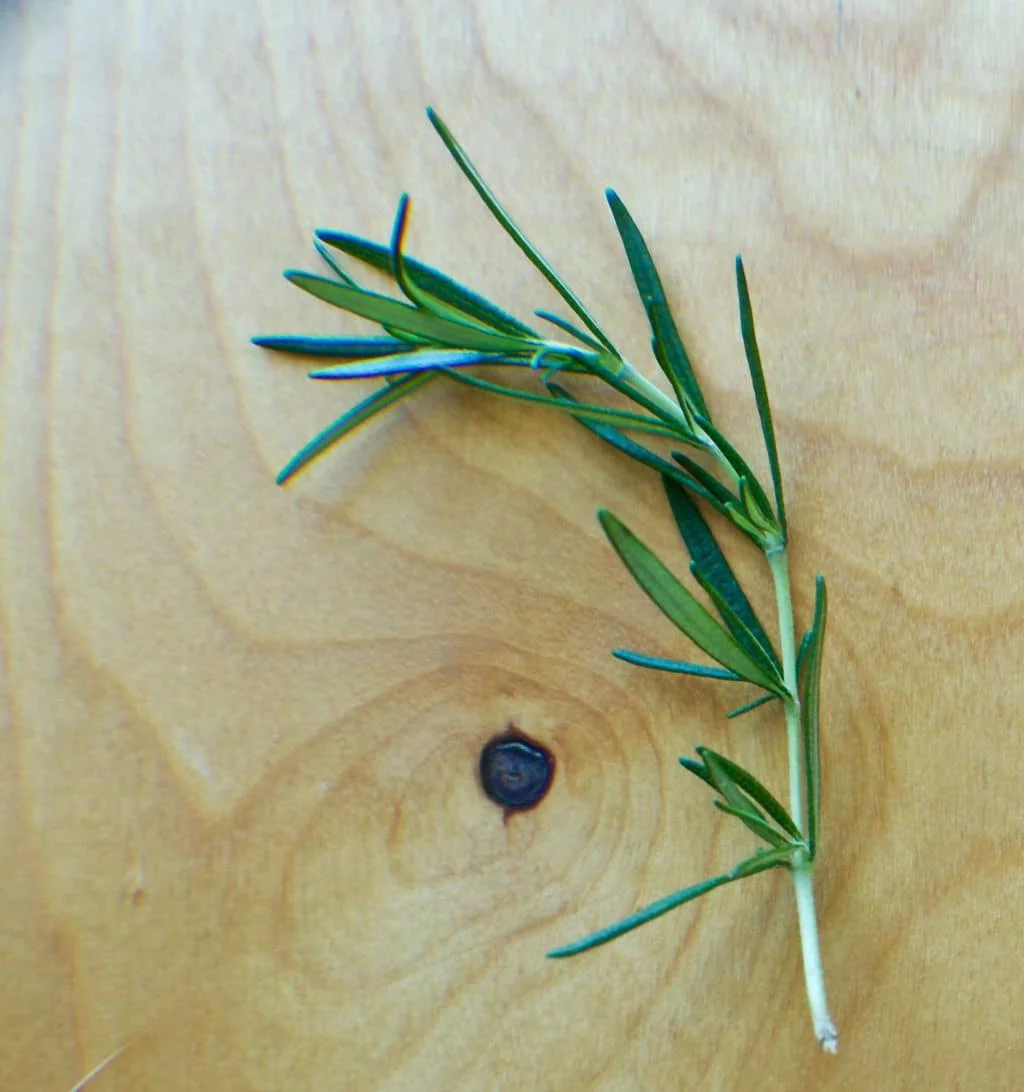
Use fresh whole rosemary leaves for the best flavor. I had some rosemary leaves fresh frozen and they worked well too.
Do NOT just sprinkle in a bunch of store bought dried rosemary from the spice isle and expect to get the full bodied flavor we are going for here.
The rosemary has to balance the roasted garlic. Fresh Rosemary leaves that are chopped will release their flavors into the bread dough. That’s the ticket.
Final Note on Rosemary: Be SURE to strip the fresh leaves off the stem. The stem will stay hard in the bread. Not so nice.
Psst: You can save the stems if you want to flavor a soup with them later. 🙂
Tips:
- Always handle the dough only as much as necessary to help it develop the gluten. Most if this is passive work on your part. Just let it rest and rise slowly. The starter is busy working to develop the gluten.
- HOW do you know when the bread is fully proofed? You will learn by feel when a particular recipe is where you want it after you’ve made it a few times. But you should ALWAYS do the window pane test to make sure the dough is worked enough.
- If you stretch the dough and it breaks before transparency the bread is going to be a brick. Keep working and resting the dough until it passes this crucial milestone.
- You may chill this dough in the fridge. Cover the bowl with a plastic bag and let it rise overnight if you don’t have time to bake it before bed. A Long slow rise will usually do a bread dough good. Be careful though. You don’t want it overproofed.
- As a final step CHILL the dough before baking. An hour in the fridge while preheating the oven and dutch oven will help the dough be more manageable when transferring to your hot pot. And a cold dough in a really hot pot will shock the dough and give you a better oven spring.
- Spray your dough with a little water in the dutch oven before you cover it for a crust with some tiny bubbles in it.
Your baking tips:
- will depend on your dough ball size and how hot your oven is. And sometimes a bread can fool you. This recipe is tested at 450 or 500 degree F at 30 minutes covered in a preheated dutch oven. And then I take off the lid and bake it another 20 minutes.
- I pull out the bread and bake the final ten minutes on the oven rack. HOWEVER, your oven is not mine.
- After you take the lid off and see how it looks. The crumb will be set and the crust will be very pale. Now bake with the lid off.
- You want a golden brown crust. It’s easy to get a charred crust if you take off the lid and bake it in a very hot oven. This is NOT that big a deal. The bread will taste wonderful.
- I use a pizza stone which gives me a more stable oven temperature and helps the crust. I recommend you use a pizza stone under your bread.
- Your bread is done when you thump it and it sounds hollow. The Crust will also be caramelized and have shiny spots where it’s been scored and the bread rises. This tells you it’s done. If you have a dense thudding sound and the crust is dark but no shiny places. Put it back in. Cover the bread with foil to keep it from over browning.
- Baking in a hot oven is dangerous. USE oven mitts safe to 500 degrees F. You do not want to get your hot pot halfway out of the oven and find it’s just too hot to handle.
We here at Homemade Food Junkie enjoy your input on our posts and recipes.
Have you made Rosemary Garlic Sourdough Bread? Let us know how it goes for you. All our readers will benefit from your rating and experience.
You’re going to love this sourdough bread dutch oven method. It makes wonderful sourdough sandwich bread too.
Grill it and make crostini with goat Cheese. So many yummy ways to use this sourdough bread. Enjoy!
Your Printable Recipe Card:
Roasted Garlic Rosemary Sourdough bread
A robust sourdough bread. full of delicious flavor. This bread is Perfect with meat dinners, stews, and Italian cuisine.
Ingredients
- 1 large bulb of roasted garlic
- Avocado oil as needed
- 50 g active starter
- 365 g warm water
- 480 g bread flour (or high protein all purpose like Montana brand)
- 20 g White fine ground whole wheat flour
- 18 g sea salt-divided
- 1 g chopped fresh whole rosemary leaves (to taste)
- 1 tsp. course ground sea salt (if desired for the top of the loaf)
Instructions
Your starter needs to be very active (pass the float test )before using it for this recipe.
TO ROAST THE GARLIC:
You may roast the garlic ahead and freeze it until needed. Thaw before using in this recipe.
- Preheat your oven to 400°F (200°C).
- Cut the root end of the blb off reveal the inside cloves.
- Drizzle with avocado oil to coat the bulb and wrap the garlic in foil.
- Roast on a sheet pan until soft. The time depends on your clove size. Start with 20 minutes and then check your cloves. Add oven time as needed.
- The garlic will be soft and caramelized when ready. You should be able to take a clove and squish the insides out easily when properly roasted.
For the Dough:
- Use a food scale:
- Set a large bowl on the scale and press the tare button until it says zero.
- Pour in the the water measure and press tare.
- Pour in the starter and whisk the starter and water together.
- Pour in the flour measure and then press tare.
- Add half of the salt.
- Combine to form a rough dough.
Autolyse:
- Cover with a damp towel and Autolyse (rest the dough) for 30 to 60 minutes. This is an important step to hydrolyze your dough. Don't skip this step.
Finish the dough mixing:
- Add remaining salt.
- Squeeze the cooled (or thawed) roasted garlic cloves directly into the bowl. I used several cloves and the flavor was good. Adjust the amount of garlic to your own tastes. A whole bulb can be a lot if the bulb is large. If you have trouble getting the garlic distributed add it in small pieces.
- Add the chopped fresh whole rosemary leaves.
Kneading:
- Gently knead the dough until the rosemary and garlic is evenly distributed throughout the dough. DON"T overwork the dough.
Bulk Rise or Long cold Rise:
- Bulk rise at room temperature covered until double in size, about 8 to 10 hours at 70 degrees F. OR you can cover the bowl with a lid and put it in a plastic bag and set it in the fridge to rise overnight up to 15 hours. Remove from the fridge and let warm for an hour before shaping.
Bench rest and Form:
- Gently pour or roll the dough out of your bowl onto a work surface.
- Shape it into a round and let rest for 5 to 10 minutes.
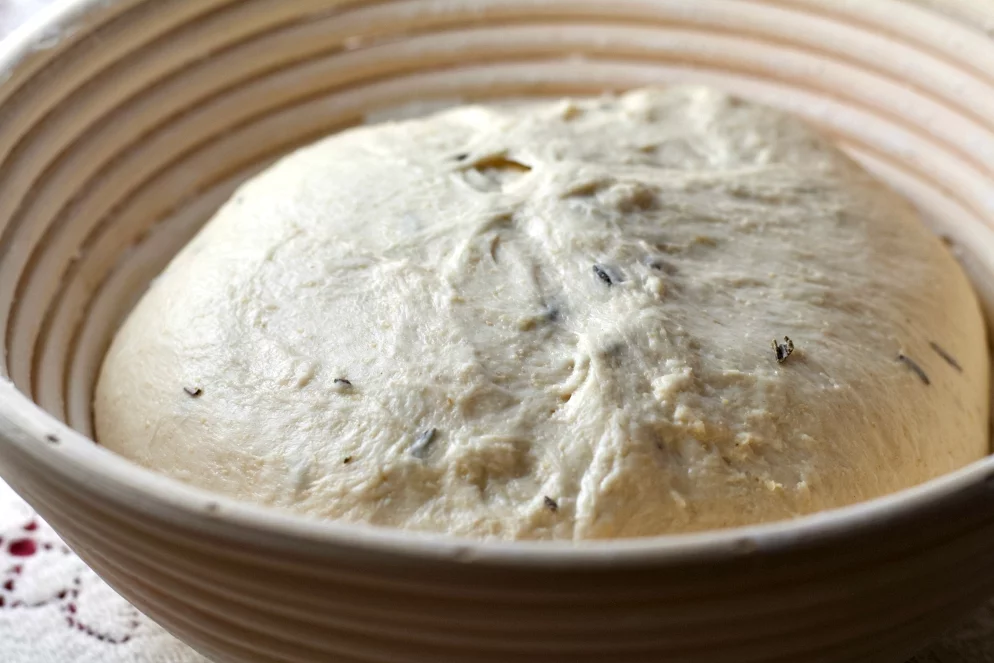
- Gently pull the dough into a ball using your dough cutter and wet hands. Pull the dough toward you in a circular motion to tighten its shape. Set the dough ball into a greased bowl or rice flour rubbed banneton.
Final Rise:
Cover the dough and let rise 30 minutes to 1 hour until soft and 1/3 Larger.
To BAKE:
TIP: CHILLING the dough is highly recommended. So is thoroughly preheating your oven. Use a pizza stone on the bottom rack if you have one.
- Set the banneton in your fridge and let it chill an hour.
- Meanwhile preheat your oven for an hour WITH THE DUTCH OVEN IN IT.
- Preheat your oven to 450 degrees F.
- Cut a sheet of parchment paper to fit the size of your loaf with some extra to give you handles on each side when moving the dough around.
TIP: Rice flour or cornmeal in the banneton and on the dough will help keep the dough from sticking. Make sure to release the dough from the sides of the banneton with your spatula or knife gently if it sticks anyway.
- Place the parchment over the banneton and dough and invert the bowl to release the dough onto the parchment.
- Sprinkle remaining salt over the top of the loaf.
- Use the tip of your Lame to make long cuts around the dough or score however you prefer.
- Lift the dough with the parchment to transfer the dough into the hot baking pot.
- Bake the dough on the center rack for 30 minutes, covered.
- Remove the lid, and continue to bake for 20 minutes.
- Check the temperature of the loaf at this point. If it is caramelized and the digital internal temp is 200 degrees remove to cooling rack. It's done.
- If it under 200 degrees in the center of the loaf Lift the loaf out of the pot, and finish baking directly on the oven rack until the loaf is caramelized, sounds hollow when thumped and reaches 200 degrees F internal temp.
- Transfer to a wire rack, and cool for 1 hour before slicing.
Notes
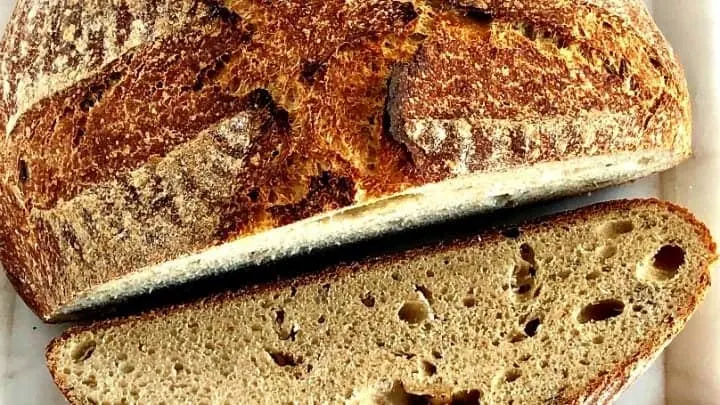
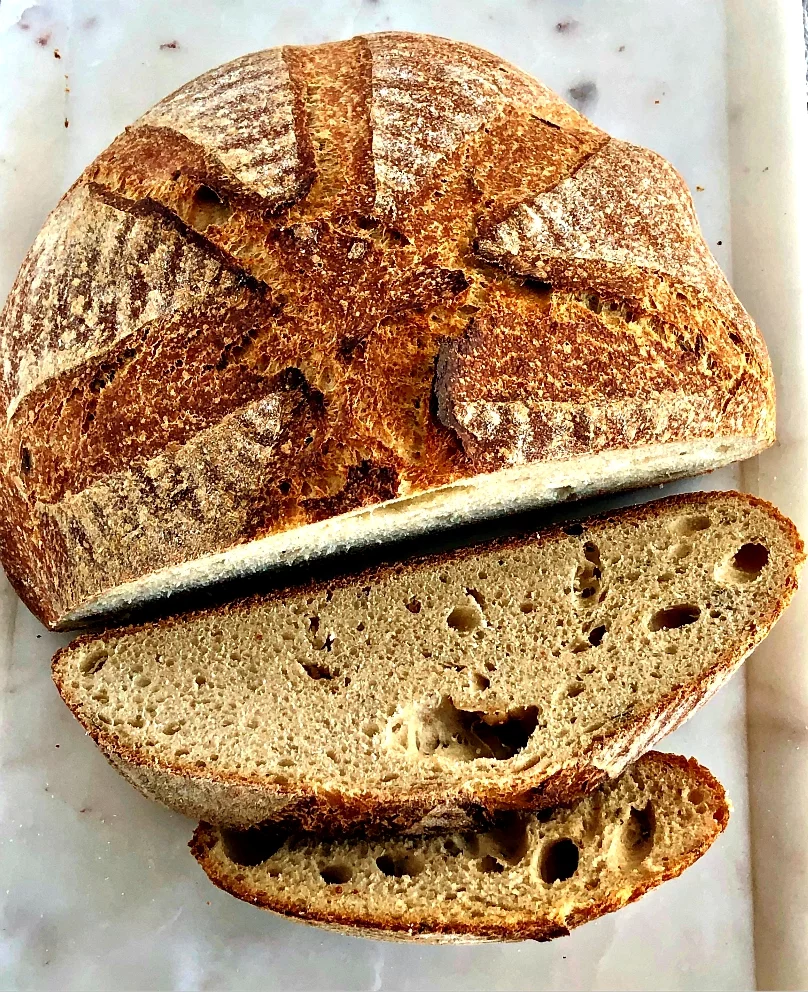
This roasted garlic Rosemary bread has an open crumb and a heavy crust. It's a perfect rustic country bread for soups and stews and meat dishes.
Cut this bread once it's cooled an hour.
Store it for up to three days in a plastic bag at room temperature. The crust will soften in the plastic bag making it easier to cut.
Freeze for up to a month double wrapped tightly in a plastic bag.
Nutrition Information
Yield
24Serving Size
1Amount Per Serving Calories 85Total Fat 1gSaturated Fat 0gTrans Fat 0gUnsaturated Fat 1gCholesterol 0mgSodium 294mgCarbohydrates 15gFiber 1gSugar 0gProtein 4g
Follow Us:
We enjoy meeting you on our social networks. Follow us on Facebook, Pinterest, Instagram . Tag us with your pictures of our recipes and comment on how it went for you. We would love to see what you do with them.
We often like, comment and share your posts of our recipes on our daily Instagram stories.
Ask questions and rate the recipe in the comments section below. Please share what you did with this recipe. We are always looking for more and better ways to make homemade food. Other cooks love your ideas!
Recent Posts:
- Layered Pumpkin Cheesecake Cupcakes
- #1 Fun Oreo Halloween Cookies Recipe
- Delicious Maple Roasted Brussel Sprouts
- Creamy Mushroom Risotto Recipe
- Savory Pumpkin Chili Recipe


Diana Thatcher
Friday 8th of July 2022
When do you add the second half of the salt?
Diane
Friday 8th of July 2022
Hi Diana, You sprinkle the remaining salt on the top of the loaf before baking. It is stated in the recipe instructions. Happy Baking!
Mark
Tuesday 16th of February 2021
My sourdough starter was very active but I got close to zero rise in the fridge overnight and when I warmed it up the next morning in an 80 degree F oven there was still no life. But I rescued it successfully by adding about a teaspoon of proofed yeast and enough flour to where it seemed right. Then I was getting a good rise with it and in the end the family and I agree this was the best loaf I've ever made. Delish! Great crust. Two days later and I'm making it again, but I went ahead and added a teaspoon of yeast in the begginnig and it's working well.
Diane
Tuesday 16th of February 2021
Hi Mark, Thanks so much for the feedback on this recipe. It is a very heavy rustic loaf. Also check to make sure your flour is fresh and high protein. 4 grams minimum of protein on the label but 5 grams is better. Montana flours (walmart and most grocery stores have it where I am) is excellent when you need that heavy lift. If you are used to baking with yeast a recipe like this will seem very weird. I have never added yeast to my sourdough but I'm happy to hear you got your desired results with it. I'd love a pic if your on instagram. Please tag us with a pic so we can see how it came out. I REALLY appreciate your contributing your experience and tips for the next guy. Happy Baking!
Sarah
Wednesday 20th of January 2021
I am new to baking sourdough but still decided to give this recipe a try because I loved the flavor combination. I realized too late that I didn't have any of the wheat flour it called for, so I just used 20 extra grams of bread flour. However, I did everything else according to the directions and it turned out great! The house smelled amazing as it cooked and the flavor of the roasted garlic in the bread was phenomenal. Mine did not produce very many holes on the inside of the bread, but I think that is due to my lack of experience with baking and not the recipe. Highly recommend this recipe!
Claire C
Monday 28th of December 2020
Hi there! I am a very new sourdough baker. I love the artisan sourdough recipe! I have made that recipe a few times and decided to try this one as well. It tastes great, but mine is not rising like it should. The same was happening with my artisan sourdough loaves as well. They are all rather flat and dense. I am following the directions step by step and my starter passes the float test. I am hoping for any suggestions to improve my loaves. Thank you for how detailed your recipes are! It is so helpful
Diane
Monday 28th of December 2020
Hi Claire, I'm happy you find the recipes helpful. There are a couple of things to help you get better rise: - Patience is first. You have to learn how to properly shape the boules to encourage better rise. This means getting a good tight tension on the dough surface when you pull it around and form your boules. (or loaves). I show you how in the video but it does take practice. -Learn how to score your loaves to encourage rise. This means a good deep score of at least a half inch depth to an inch. Scoring is an art with a purpose. All the lovely cuts also help the dough expand properly. My loaves had a much better rise after I learned good scoring techniques. --Your starter is probably very young. It may also be unbalanced for baking. It can float and still be less capable of rising a loaf than after it matures. This will take time. As you feed the starter and use it it will get stronger. ALWAYS feed your starter 1:1:1 proportions of Strong flour:starter: warm water the night before you want to bake with it. This will help the starter be balanced for our recipes and give you best rise. -I feed 100 grams of each for my recipes. Use only the starter called for in the recipe or you will unbalance the recipe. -Finally make SURE you are using a good strong flour. This means it has a protein content on the label of 12% or 5 grams of protein. ALWAYS preheat your cold dutch oven in a cold oven and then turn on the oven and preheat for about an hour before you bake. Meanwhile make sure you do the final rise in the fridge. A CHILLED dough in a HOT oven will give you the best oven spring. This will give you best overall rise and bake.
I hope something here helps you. All the best. Happy baking and Happy New Year!
Christina Flower
Monday 23rd of November 2020
Just realized I didn’t add in the 20 g of whole wheat flour.. any hope for my bread? It’s currently bench resting after rising overnight :( any tips to save it?
Christina Flower
Monday 23rd of November 2020
@Diane, thank you for your quick response! It still ended up tasting really nice. It didn’t rise all that much and the texture is probably slightly denser than it should be had I followed directions :)
Diane
Monday 23rd of November 2020
I think so Christina. If you have the dough at this stage just complete the recipe as directed. It will have a different texture but I think it will still be good. Just a bit less rustic. Please let us know how it turns out or you.