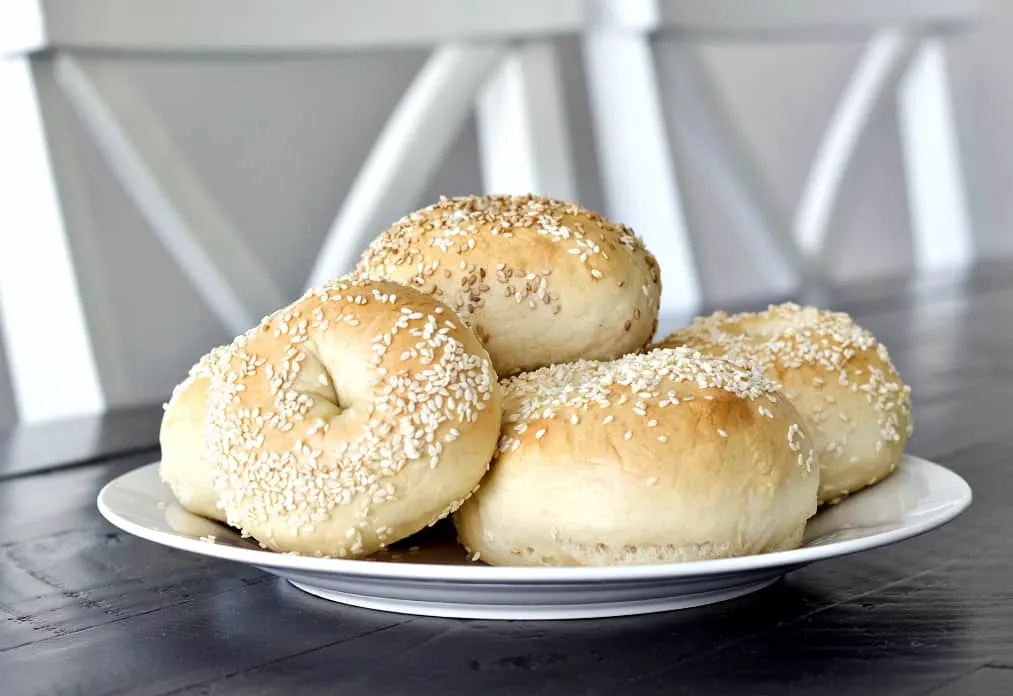
Sourdough bagels are so easy to make. These delicious soft bakery style bagels have a bit of chewing required just so you know it’s a bagel.

Like most sourdough recipes, this homemade bagel recipe requires a lot of time but not much effort. The flavor is SO good. You’re going to want to make a double batch.
We made a recipe demonstration video for you. It will take you through every step of making this sourdough bagel recipe. You should see it autoplaying in the sidebar next to this tutorial. We also added the video into the bottom of the printable recipe card for you.
It’s very different from our other bread recipes. These bagels are terrifically good.
More Sourdough Recipes:
Looking for more sourdough recipes? Be sure to check out all of the many great recipes in our sourdough Section.
Sourdough Bagel Recipe:
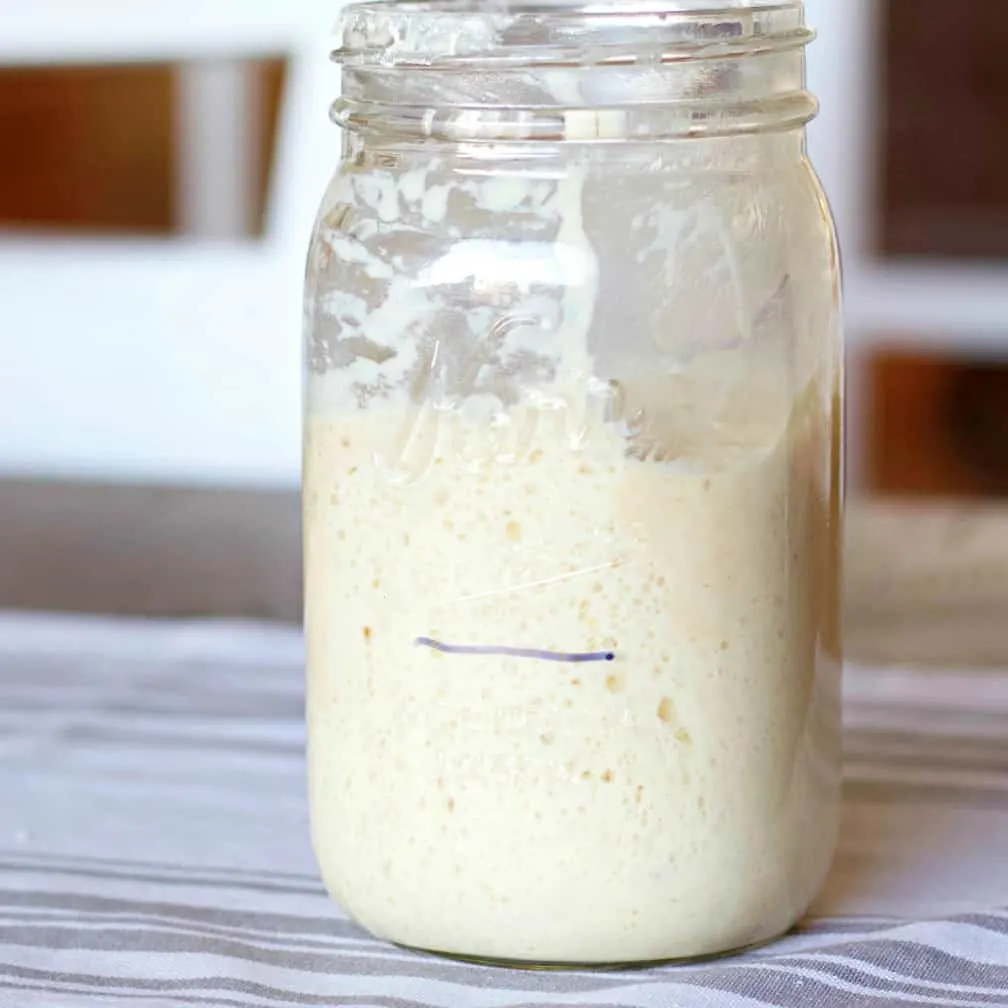
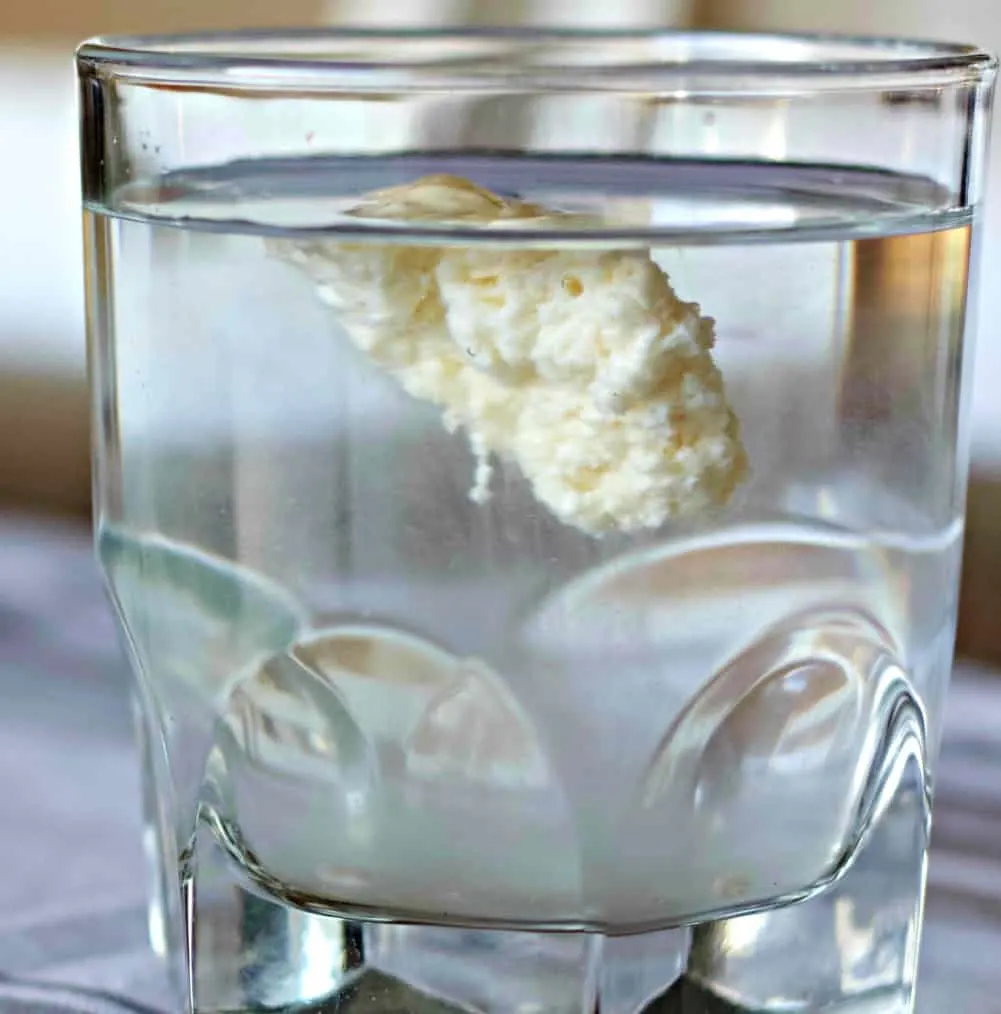
The Starter:
The Flour:
This recipe will work fine with any flour you have on hand so don’t stress if you can’t find bread flour. Use what you have.
You won’t hear me say that with our sourdough bread recipes. Bagels are much more forgiving.
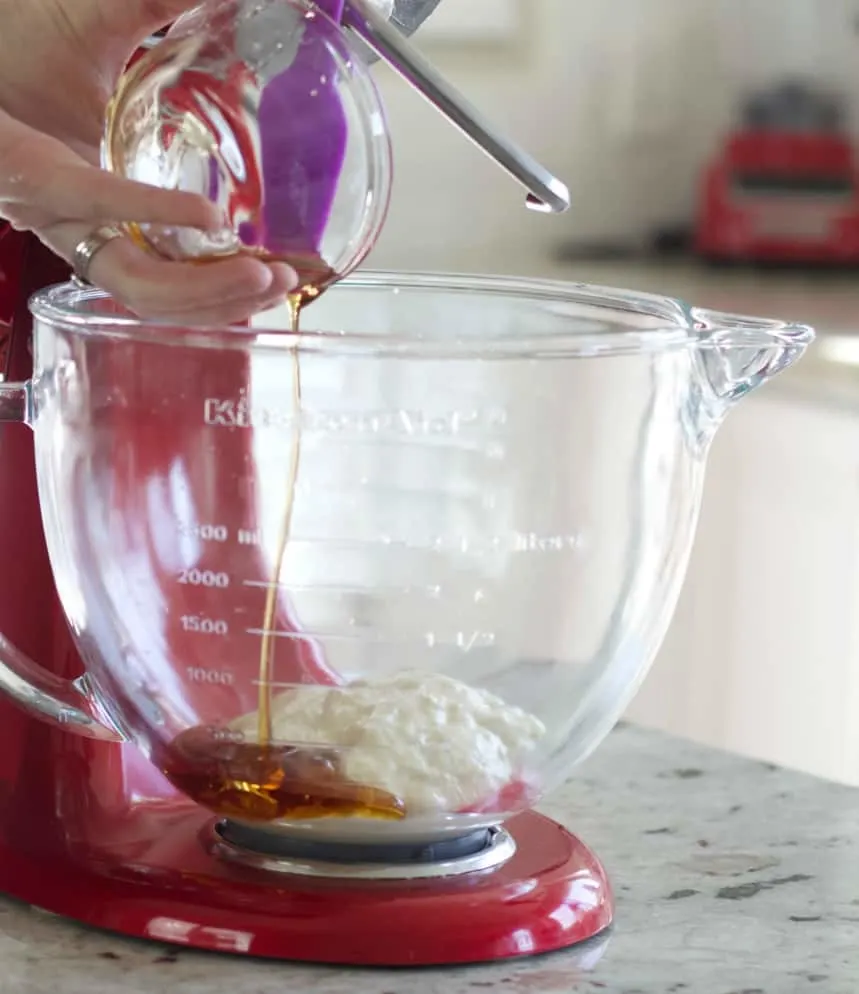
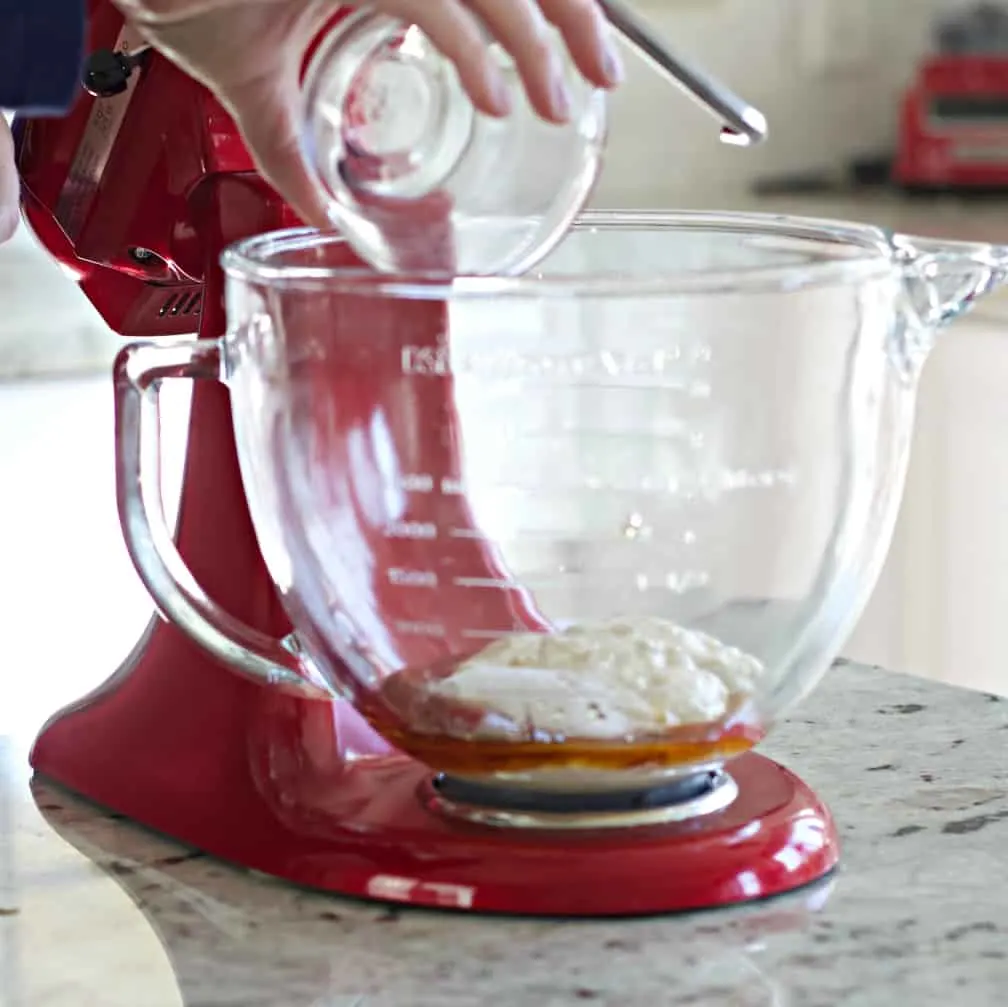
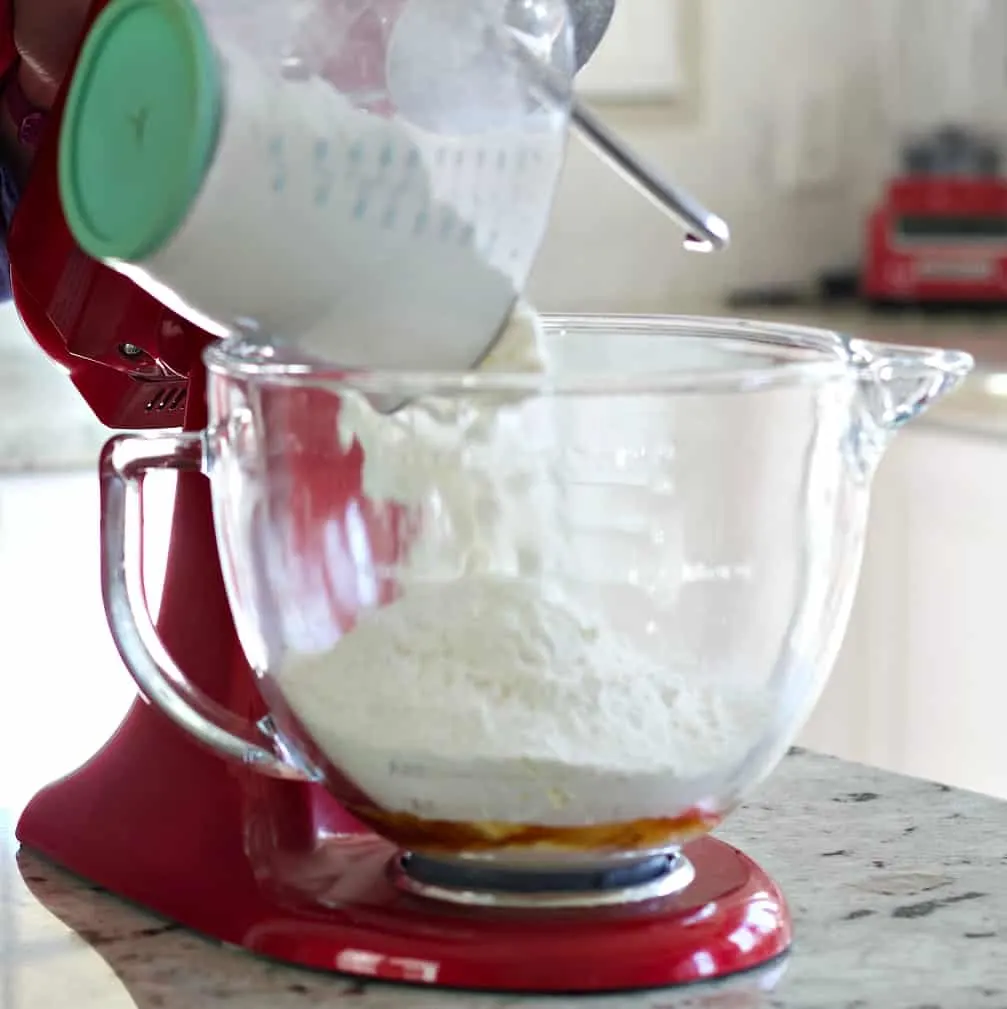
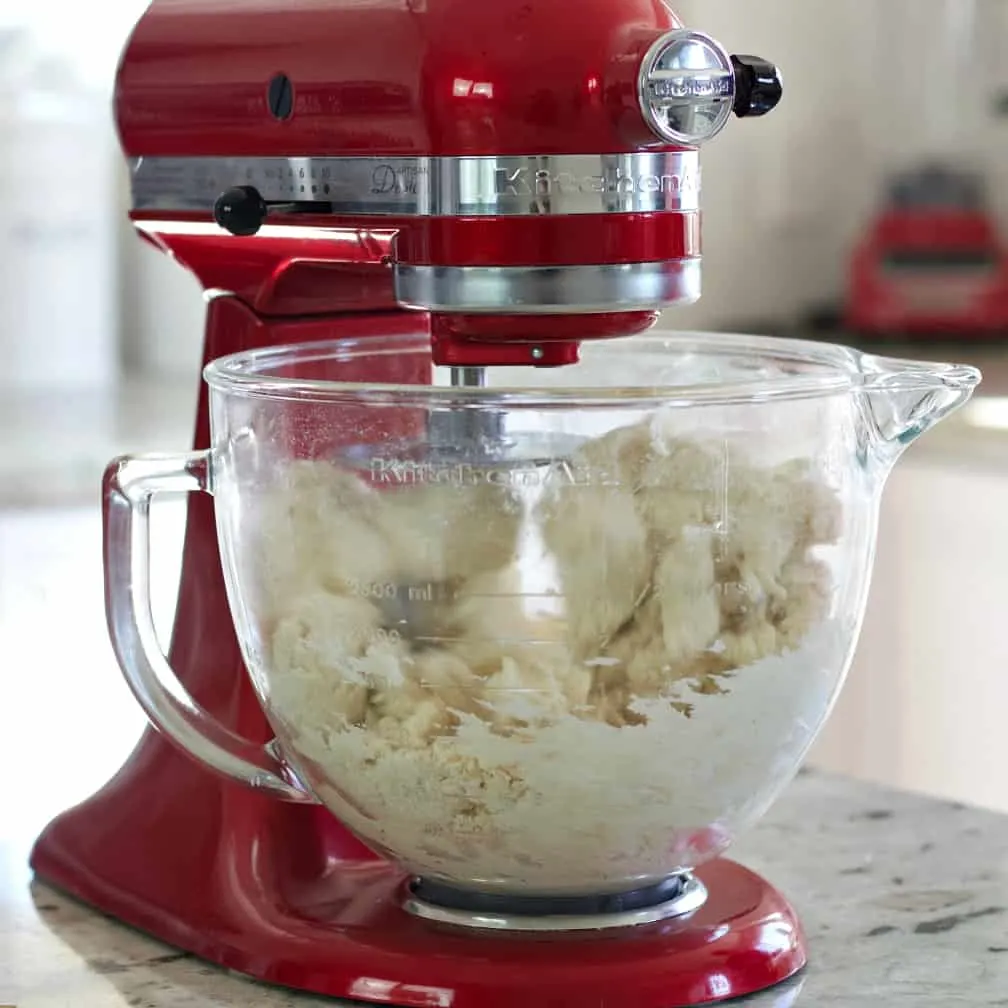
Mixing the Bagel Dough:
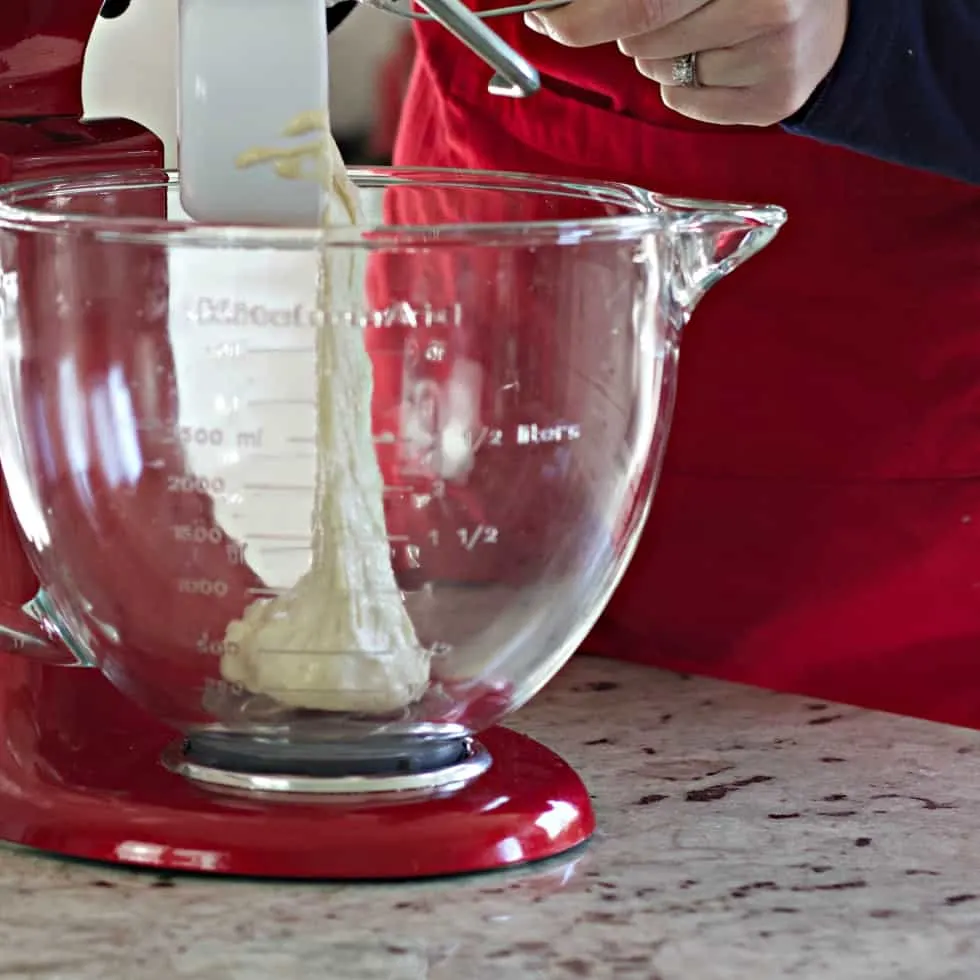
Kaytis Kitchen-Aid Artisan mixer is not strong enough to knead this dense dough without a lot of jumping and bucking.
So we started the dough in the mixer fitted with a dough hook. Then removed the dough to the counter and did the heavy kneading by hand.
It took about 5 to 10 minutes of hand kneading. Knead until the dough gets soft and pliable.
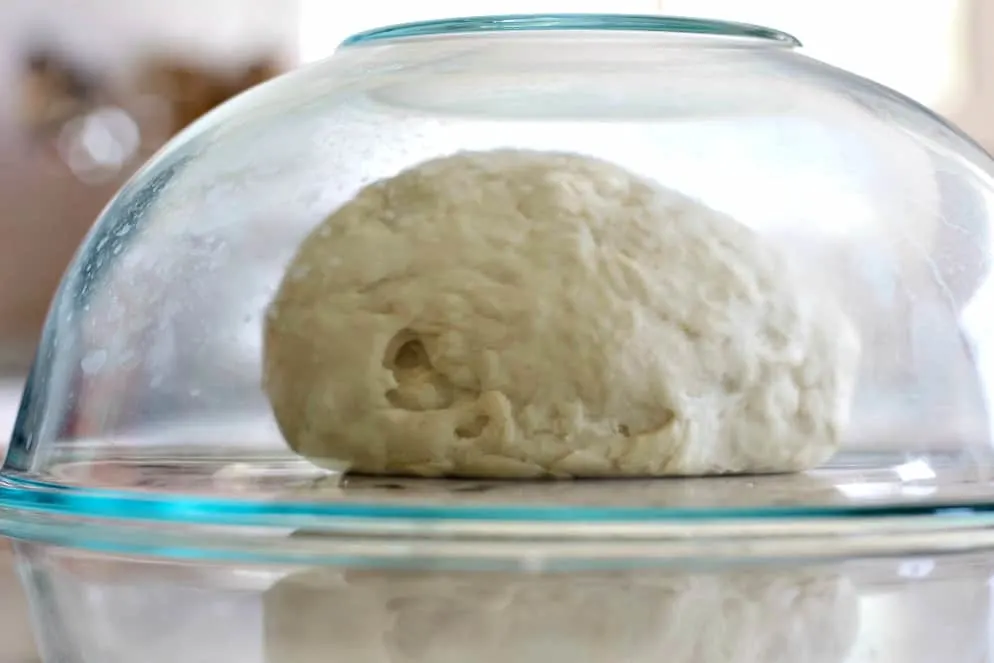
Dough Tips:
This is a heavy dough. Very unlike our sourdough bread recipes. It’s also somewhat dry.
Feel free to add a tablespoon of water to the dough or just wet your hands when kneading and working with the dough to hydrate it.
You don’t want dry cracks in the dough. But a LITTLE water goes a long ways. Careful there.
You want the dough smooth and somewhat elastic. No need for it to pass the window pane test.
Forming the Bagels:
Your bagel dough should be easy to work with a this point. Still firm but flexible, hydrated and not sticky.
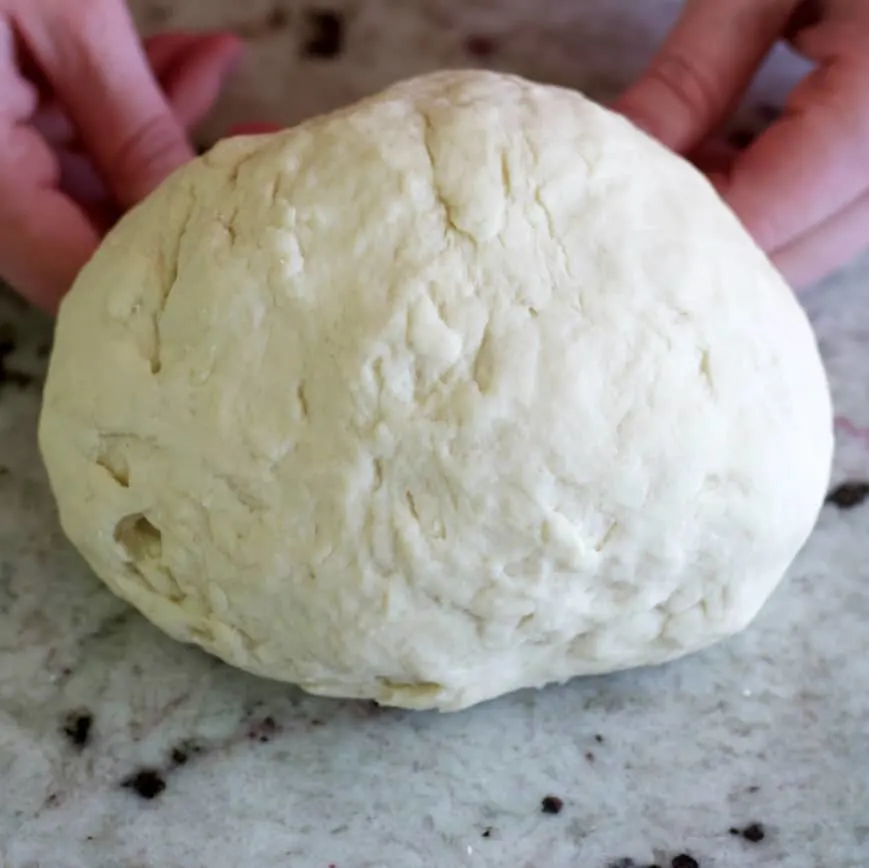

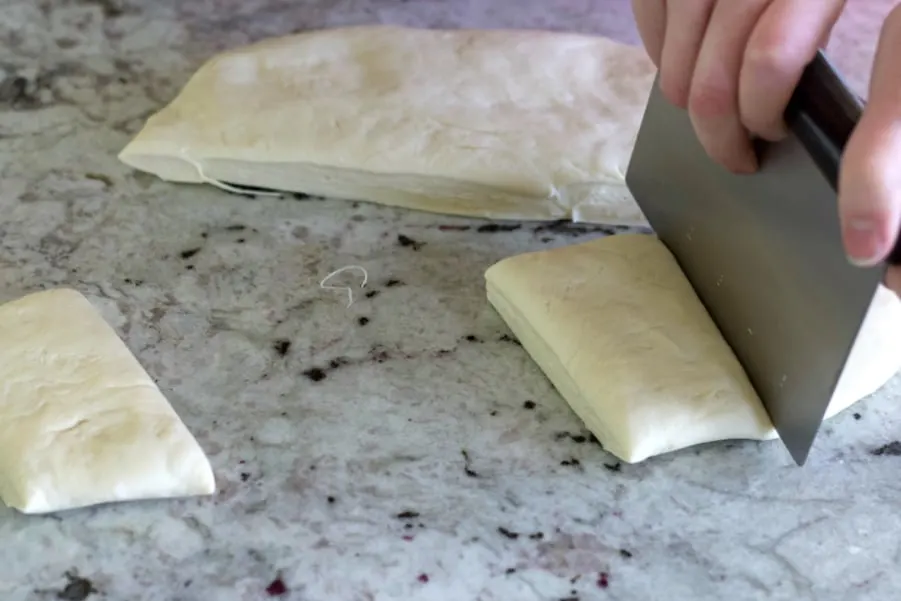

To keep your bagels evenly sized a digital scale is recommended. Weigh out the dough pieces after dividing and adjust the dough pieces so they are close to an even weight. Now form them into your balls.
Weighing the dough is most important if making the smaller bagels. For each dough ball use a piece about 100 to 105 grams heavy. That will give you more consistent baking results.
Once the dough balls are formed let them sit at room temperature covered with a damp towel or plastic for about 15 minutes. This helps relax the dough for shaping.
Making the Bagel Shape:
We have made this recipe several times. The video shows how to make eight large bagels.
We also made them as small bagels. They work fine either way.
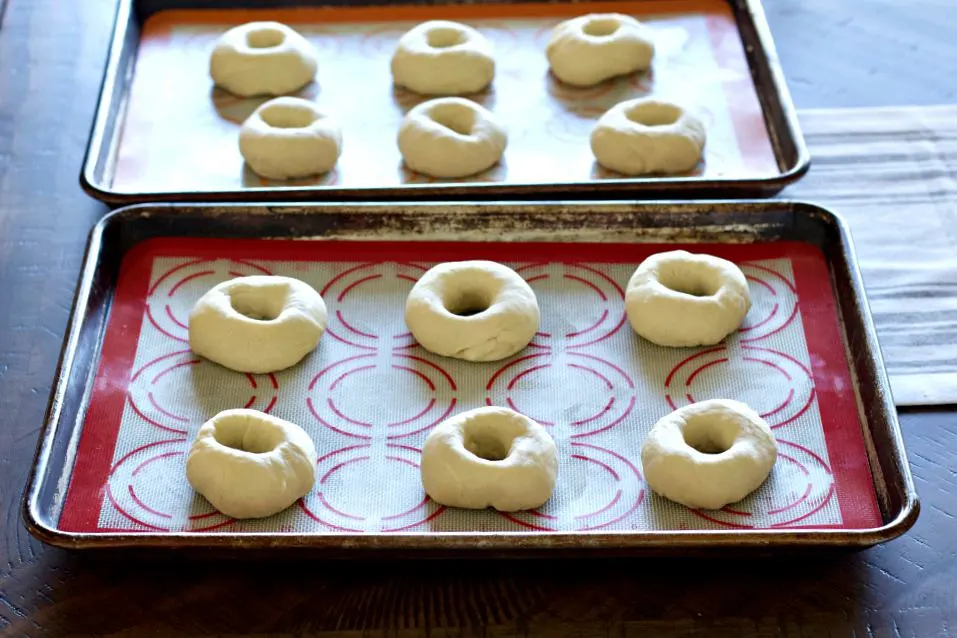
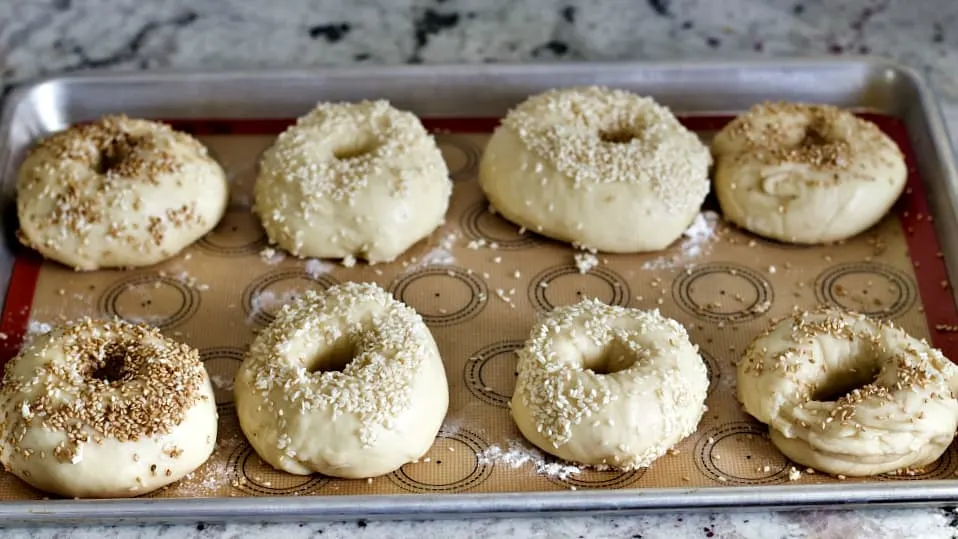
Pictured below in this section you see this recipe formed as twelve small bagels. Six on each baking sheet.
There are two ways to make your bagel balls into the finished bagel shape.
Rope method:
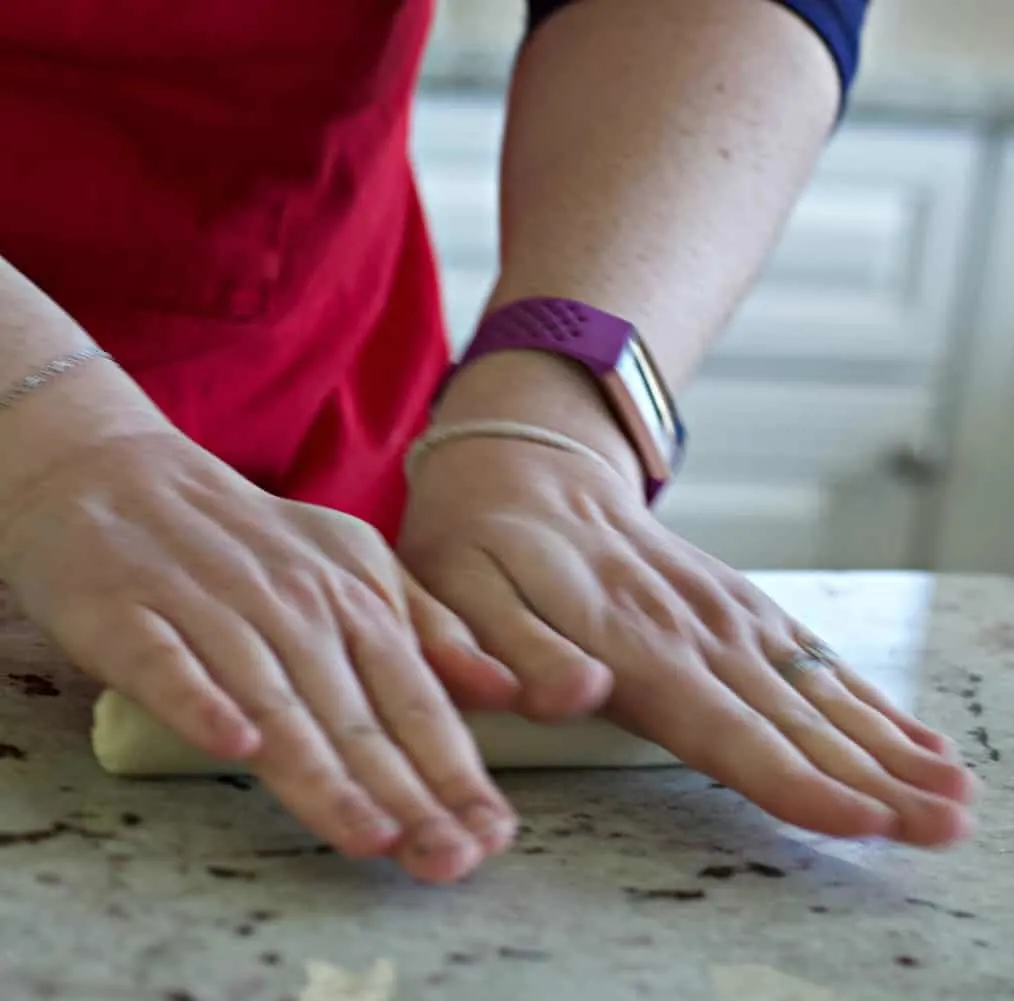
- Make each dough ball into a long rope about 12 inches long as shown above.
- Wrap the rope around your four upright fingers. (Not your thumb)
- Overlap the ends of the dough.
- Pinch off any excess dough at the overlap point.
- Smooth the shape to make a rounded bagel as shown pictured below.
For us this is the most difficult method. The dough often doesn’t hold at the overlap point.
Thumb Method:
This is the simplest way to make the bagels in my opinion. The trick here is to pull the dough hole out so it is large enough to stay open during the rising, boiling and baking.
- Drive your thumb through the exact CENTER of the dough ball.
- Pull the dough out around your thumb and create a hole.
- Adjust the bagel shape if needed so the bagels all have hole about the same size. (pictured above).
Rising:
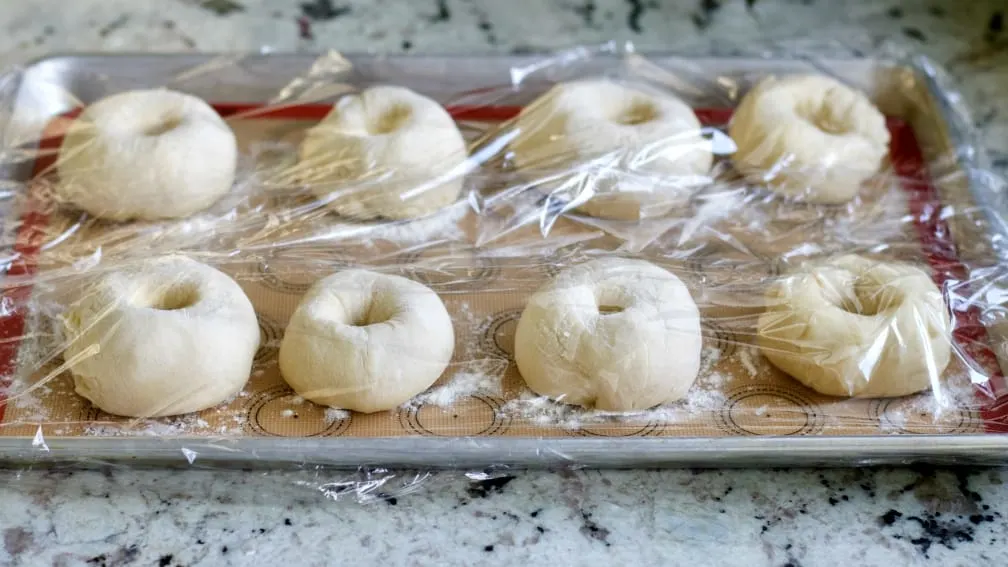
Bulk rise at room temp 2 1/2 to 4 hours covered with plastic wrap. Or slip the tray into a large flimsy plastic grocery bag. The delivery grocery bags are more difficult to work with.
THEN set in fridge 12 to 24 hours for the long cold rise. Do not skip this step. Sourdough bagels need this extra development time.
Just plan out your baking schedule accordingly. There is plenty of wiggle room in the long cold rise.
Par Boiling:
- Remove the baking pans from your fridge.
- Fill a wide and deep skillet or pot about 3 to 5 inches deep with water.
- Set it to boil.
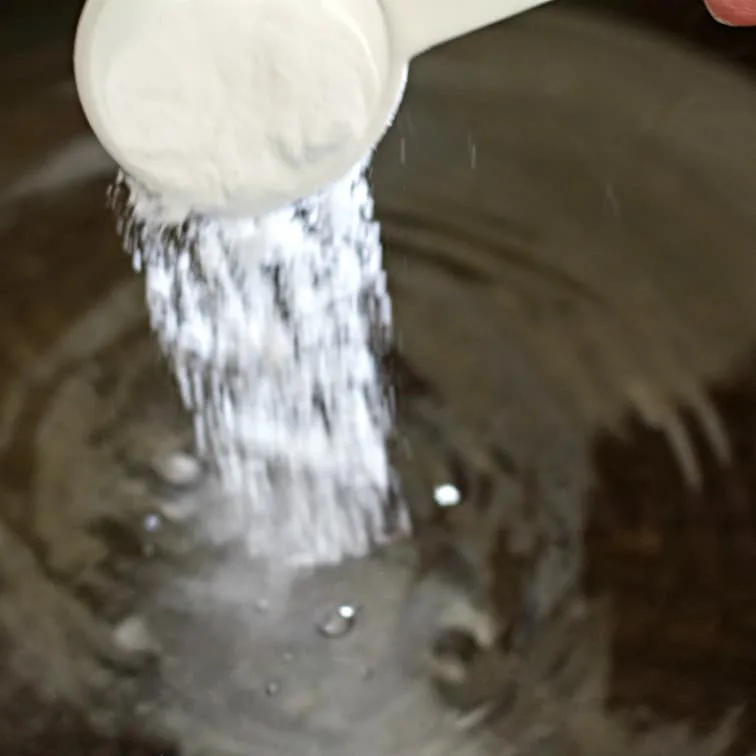
- Stir in the baking soda and brown sugar.
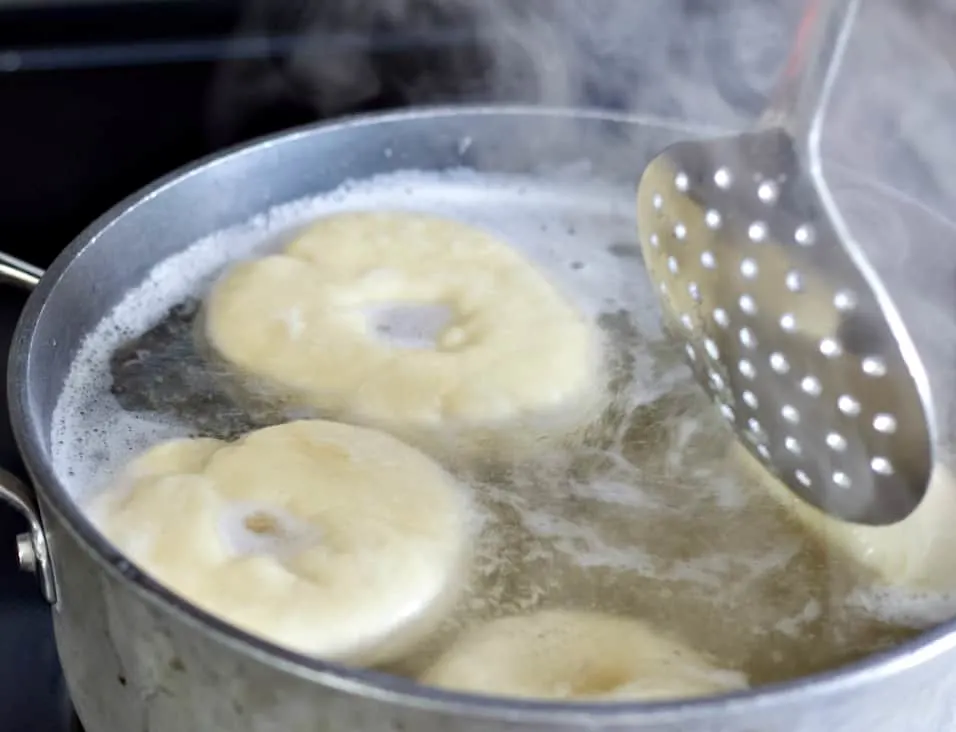
- lay the bagels into the boiling water with a slotted spoon.
- Boil each bagel about 20 seconds. turn them over and repeat.
- Remove the bagels to drain.

Toppings:
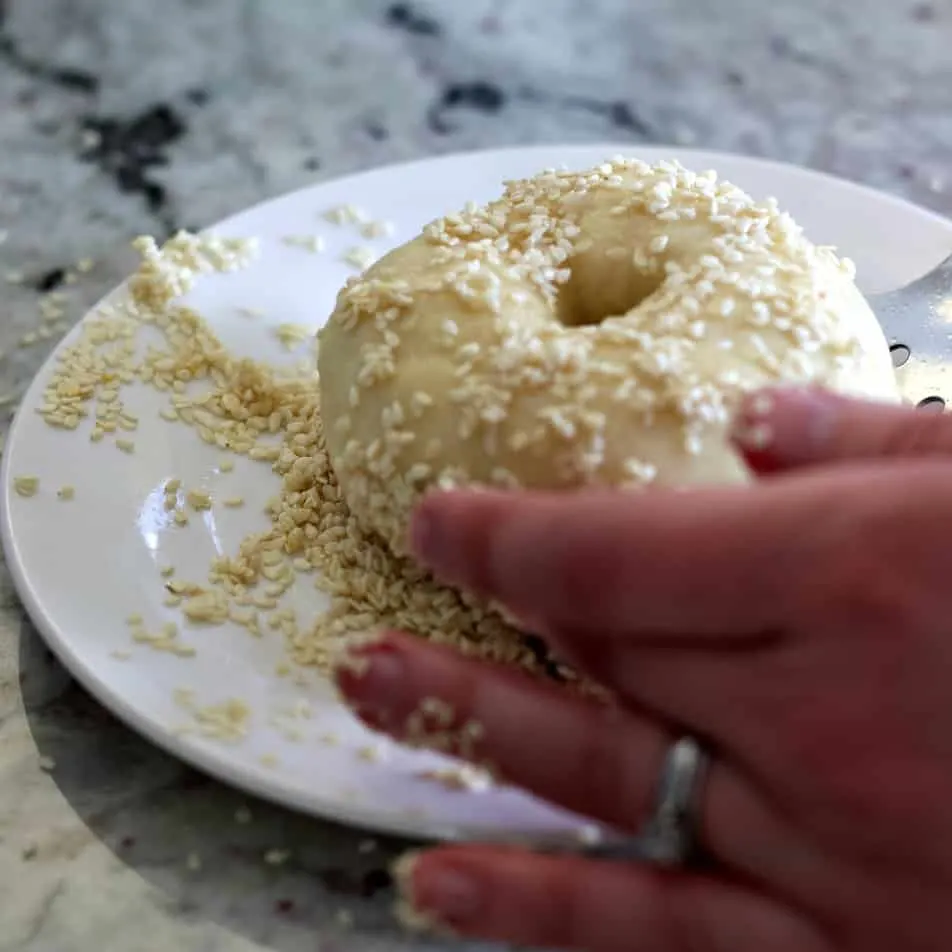
While the bagels are warm and wet from their par-boil top them with your favorite bagel toppings.
Either roll the wet bagels in your topping to cover the top and sides completely or just sprinkle your favorite toppings over the wet doughy top.
Probably best not to get toppings on the bottom of your bagels. Burning and sticking may happen with some of them.
Suggested toppings:
- Sesame seed (either toasted or raw-You see both pictured here)
- Poppy seed
- Shredded cheddar cheese (one of our favorite toppings!)
- cinnamon sugar blend. (NOT one of our favorites for this savory dough but the kids love them)
- Everything bagel seasoning
Baking:
Prepare your baking pans. Line them with silicone mats like you see here. OR use parchment paper OR oil the pans really well.
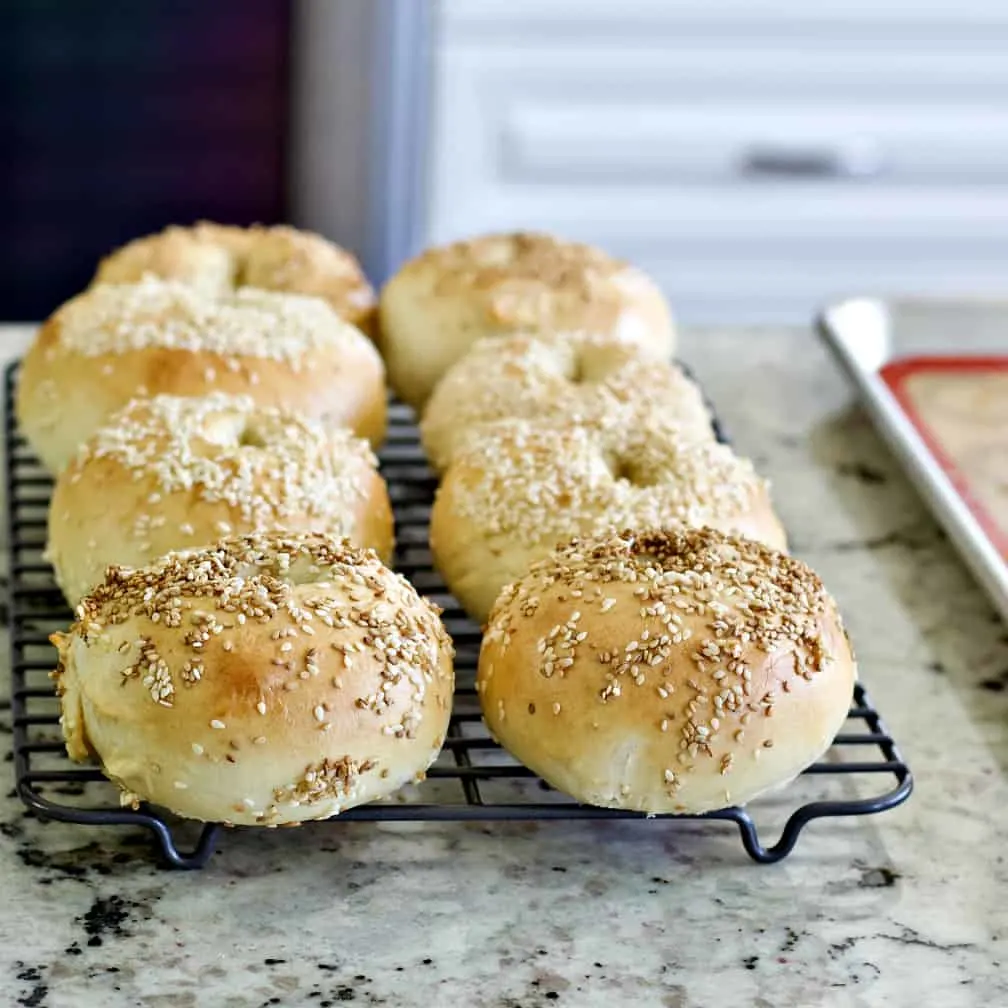
The bagels are done at an internal temperature of over 190 degrees F. They will be a golden brown as shown below.
Storing:
These won’t last long but to store for a day or two:
- you can set them in your bread box,
- OR Store them in a reused plastic bag (I always reuse my flimsy plastic grocery bags to store homemade breads. Works really well and I hate throwing away single use bags).
- I also set them on my cake plate with it’s glass lid. That will keep them fresh several days.
Freezing Bagels:
Short term freezing up to a week.
- Let the bagels cool completely
- put them in a flimsy grocery bag (or even produce bag) and suck all the air out.
- Double the tightly wrapped bags and store in your refrigerator freezer for quick access.
Long term Freezing-Up to two Months:
- Vacuum pac your bagels if you have one.
- OR Wrap the bagels in thin plastic bags and suck out all the air
- THEN set the thin bag in a Heavy duty ziplock freezer bags.
- Suck out all the air you can and store in your deep freeze for up to two months.
Defrosting:
Always defrost bread at room temperature for best results. Microwaving these bagels or other bread products is risky. They can turn very hard and unpalatable.
With the short term freeze method you can actually just reach in and grab a bagel and easily rewrap the remaining bagels in your freezer. Remember to rewrap the bag.
Serving Suggestions:
- These bagels make fantastic breakfast sandwiches. We like ham and cheese on them. Yes you can microwave the sandwiches if you are very careful not to over heat them. Assemble the bagel sandwich and heat ONLY till the cheese melts a bit.
- We love them toasted with butter or cream cheese
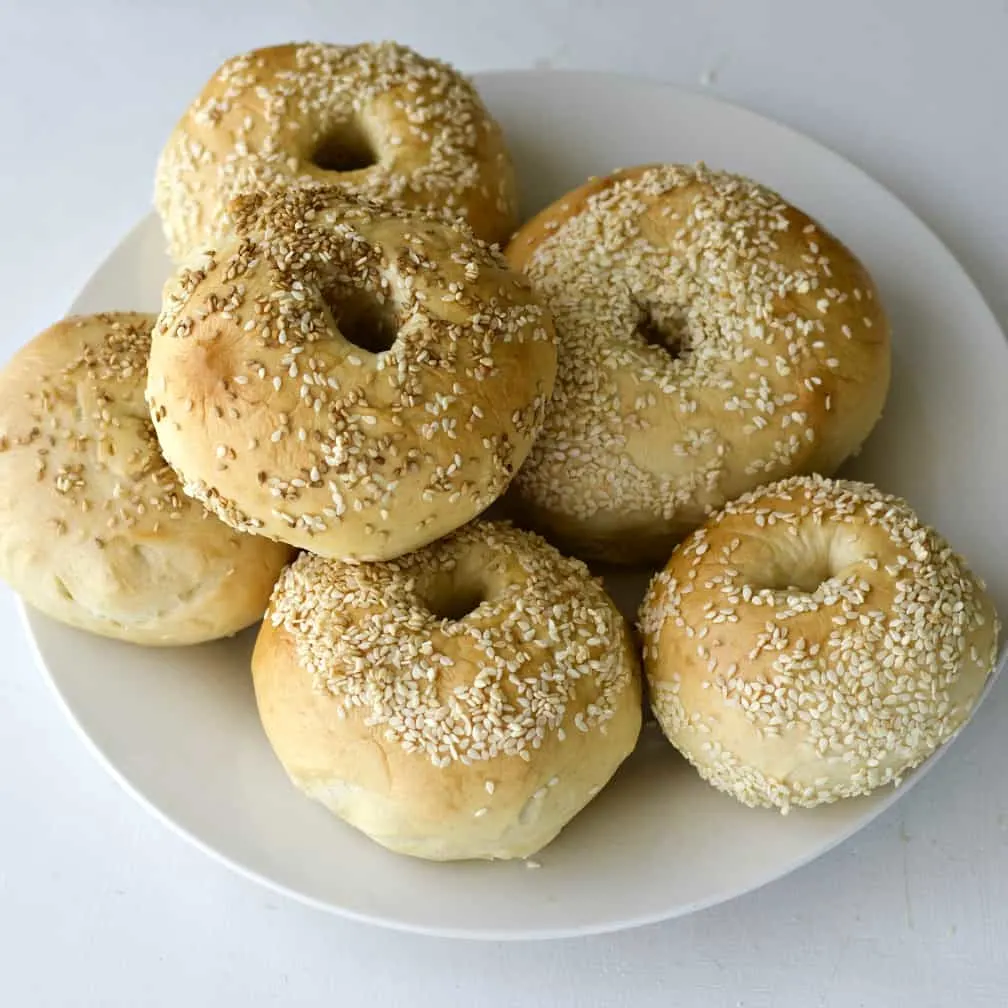
- We enjoy them just as you see them with nothing on them at all.
- Anything you love on bagels will be even better with this great recipe.

Your Printable Recipe Card:

Sourdough Bagel Recipe
Sourdough bagels are so easy to make. These delicious soft bakery style bagels have a bit of chewing required just so you know it's a bagel. The flavor is SO good!
Ingredients
Bagel Dough:
- 1 Cup Sourdough starter-Active -(227 Grams)
- 2 Tablespoons maple syrup-(43 grams)
- 2 tsp. kosher salt- (11 grams)
- 5 Cups all purpose flour-(680 grams)
- 1 1/4 Cup Cold Water- (237 grams)
Water Bath:
- 1 Tablespoon baking soda- (14 grams)
- 1 Tablespoon brown sugar- (12 grams)
Instructions
Mixing:
- In a stand mixer or large mixing bowl:
Place Starter, maple syrup, salt, flour and water and mix together. - Knead by machine or by hand until it forms an elastic ball of dough. Add 1 or two Tablespoons of water if your flour is super dry to keep the dough together. You can also knead with wet hands to hydrate the dough slightly as needed.
- Cover your dough and rest it for 20 minutes.
Forming the bagels:
- Place the rested dough on your work surface and press the dough out into a rectangle.
- Cut the dough into 8 large and even sections. (For smaller bagels cut the dough into 12 even pieces. Each weighing about 100 grams each).
- Form each section of cut dough into a ball and place on an oiled, or parchment, or silicone mat lined baking sheet. (Use two baking pans if making 12 bagels- 6 on each pan).
- Cover the baking sheets and rest the dough for 15 minutes.
- Use your thumb to push into the center of the bagel and through to form a center hole. Manipulate the dough around your thumb gently as needed to shape the bagel into a thick circle.
Bulk Rise:
- Cover the pans and let them sit at room temperature from 2 1/2 to 4 hours.
Long Cold Rise:
Set the baking pans inside large plastic grocery bags or cover the trays loosely with plastic wrap.- Set inside your fridge 12 to 24 hours.
PreHeat Oven to 450 degrees F.
ParBoiling:
- Place a deep skillet or wide soup pot on your stove filled with about three to five inches of water. Set to boil.
- Add the baking soda and brown sugar into the water and stir until it dissolves.
- Use a slotted spoon to drop the bagels into the prepared boiling water in batches that fit your pan.
- Let the bagels boil 15 to 20 seconds on each side. Turn them over with your spoon.
- Remove boiled bagels and immediately top them with your preferred toppings.
- Return the bagels to your prepared baking sheets
Bake:
Set the baking sheets into your hot oven.
IMMEDIATELY reduce the oven temperature to 400 degrees F.
Bake 18 to 22 minutes or until golden brown.
If using a digital thermometer the bagels are done at 190 degrees f.
Remove the trays from oven and set the bagels on a cooling rack.
Notes
Topping Ideas:
Nutrition Information
Yield
12Serving Size
1Amount Per Serving Calories 238Total Fat 1gSaturated Fat 0gTrans Fat 0gUnsaturated Fat 0gCholesterol 0mgSodium 512mgCarbohydrates 50gFiber 2gSugar 3gProtein 7g
We appreciate your work with our recipes. Please tag us on instagram with your stories and posts about this recipe. We love to like, comment and share your stories. 🙂


Lynn
Monday 26th of August 2024
5 cups of flour is 600 grams so I am wondering which measurement is best.
Lynn
Thursday 7th of November 2024
@Diane, I wasn't questioning which method. The recipe says 5 cups or 680 grams. These are not equivalent to each other so am wondering if the recipe should say 600 grams.
Diane
Monday 26th of August 2024
Hi Lynn, rule of thumb when baking sourdough recipes is use the weight measurement. This will ensure your flour and other ingredients are in the proper proportions. We provide the volume measurements for those that do not use a digital scale. Happy baking!
Tammy
Wednesday 12th of October 2022
I'd give this recipe 10 out of 10. My family loves them! It comes together easily and quickly. Thanks! I also love that it's vegan!
Diane
Wednesday 12th of October 2022
Hi Tammy, Thanks for the great review. We are delighted your family enjoys this recipe. Happy Baking!
Ashley
Monday 28th of March 2022
This is the second time I’ve made these bagels. The first time they were flawless and this time, after the fermentation in the fridge, they lost their shape and flattened. Any advice?
Diane
Monday 28th of March 2022
Hi Ashley, I'm going to take a guess and say they over proofed. Reasons for this can include: Your making them at a very warm room temperature and the dough developed fast. Try going straight to the fridge if you have really hot temperatures. Your starter may not have had enough power to get it through the recipe. Again this causes a dough to go slack and not form or rise well. It's also possible it IS active but out of balance for baking. Try this: 8 to 12 hours before you plant to bake your sourdough bagels ( or any sourdough recipe that needs an active starter) feed your starter 1:1:1. You can do this with any amount of starter. I generally do 100 grams each. Cover the bowl and allow it to ferment at room temperature (around 68 to 75 degrees F). When you want to bake try to catch the starter as it is at it's peak rise. Now it is floating and ready to bake. Hope this helps!
Haley
Tuesday 17th of August 2021
I am a cottage food business that specializes in sourdough products. I made another sourdough bagel recipe from someone else that required I mid the sourdough starter specially for their recipe 12 hours prior to mixing the bagels which would then bulk rise at room temp for 12 hours before I was supposed to shape. The other recipe was very wet and made it extremely difficult to get clean and nice shaped bagels because regardless of flouring my hands and the parchment paper, they always stuck to the paper and my hands. They easily changed shape whenever I handled them. They rise for an hour or so before I boil them for 2 minutes on each side and then bake. They don’t look pretty afterwards. I hated the long and arduous process. So I decided to try this recipe. I love this recipe sooooo much!!! It is soooo much easier and the bagels pre-boiled are not wet and sticky so they keep their shape and look pretty! I’m sure they will taste amazing. The first batch is still in the oven so I haven’t eaten any yet. But I’m so stoked to be able to use this recipe instead.
Diane
Tuesday 17th of August 2021
Hi Haley, I'm happy to hear this recipe is easier. Please let us know if you enjoy these bagels. We love them. :)
Becky
Tuesday 4th of May 2021
Excellent bagels! I made 12. As I was shaping into balls, I could smell them as bagels. They were a big hit at our Sunday Send-off Brunch! Thanks!
Diane
Tuesday 4th of May 2021
Hi Becky, Thanks you for the great review. Happy to hear you loved this recipe. Happy Baking!